How to Choose the Right ESP32 Development Board — and When a Different Chip Might Be the Better Answer
Choosing a development board for a connected-device project used to mean picking an Arduino. Today it means navigating a market where hundreds of listings carry the same chip name but differ in ways the product pages rarely explain — different flash sizes, different power topologies, different antenna layouts, some with screens and cameras, some the size of a thumbnail, and some that are cheap clones with a voltage regulator that collapses the moment the radio transmits. The silicon at the centre of these boards is well documented by Espressif, whose datasheets cover the register-level details faithfully. The board around that silicon is where projects succeed or fail, and the documentation for that layer is thin to nonexistent.
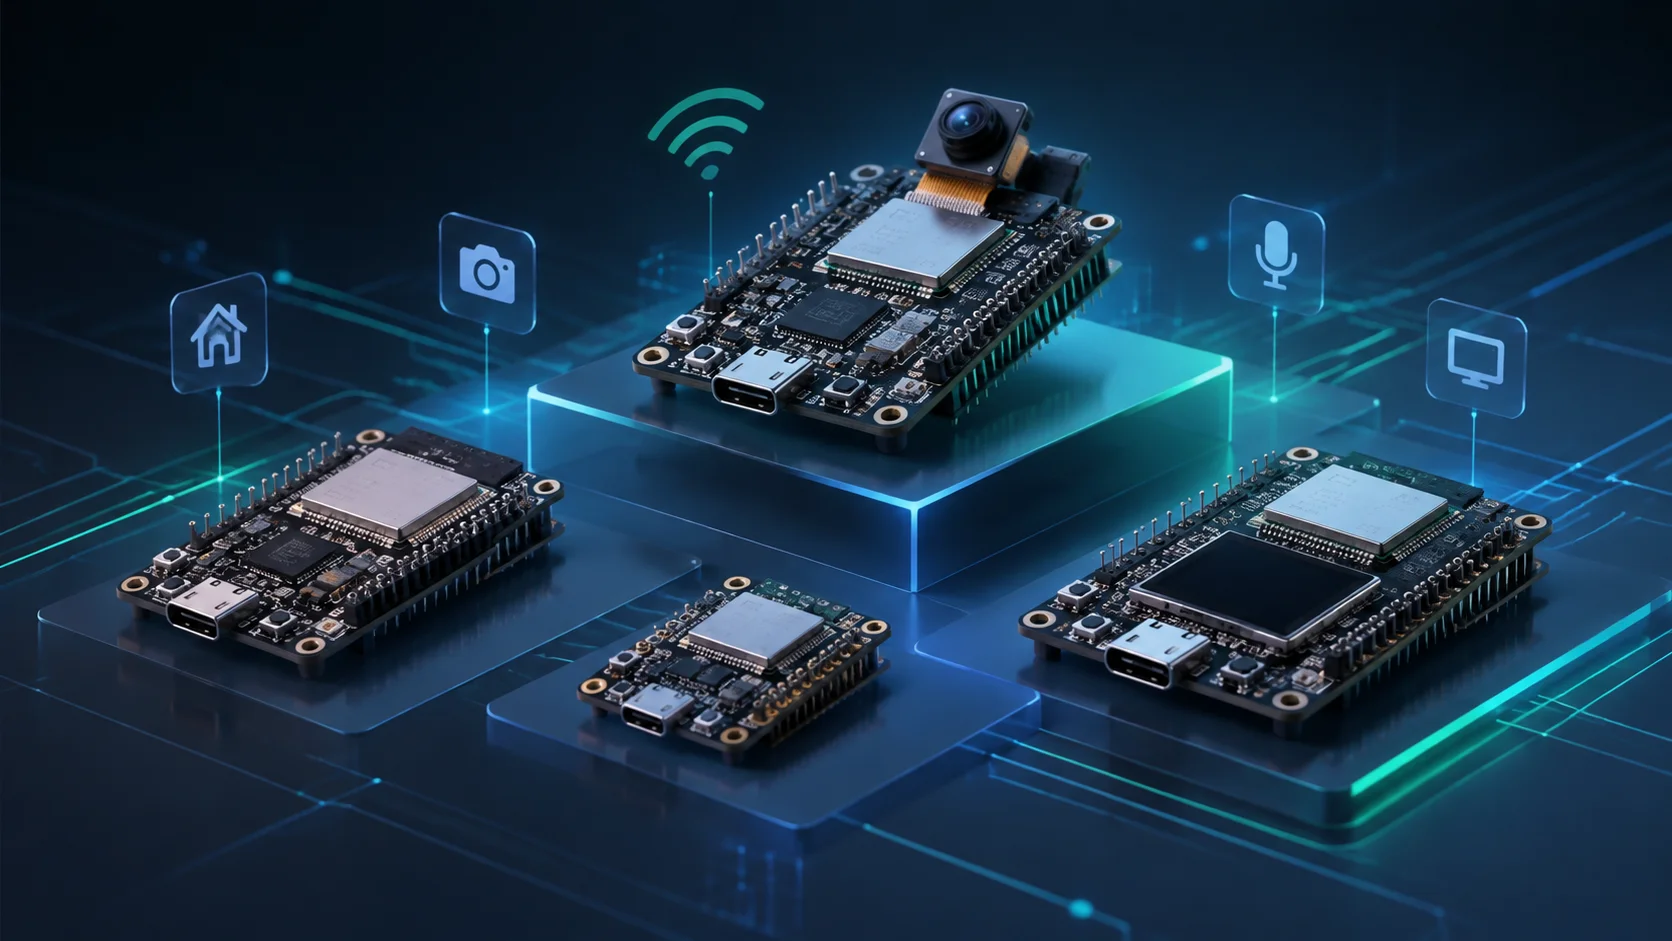
The cost of a wrong board choice is never just the price of the board. It is the debugging sessions that lead nowhere, the missed deadlines, and usually a second purchase once the real limitation becomes clear. The Internet of Things has moved past the hobbyist-only stage — connected devices now ship into production environments where hardware decisions are design decisions, not experiments. Power regulation quality, pin breakout completeness, USB implementation choices, and antenna layout are the details that determine whether a prototype becomes a product or a drawer ornament. Getting the board right at the start is the cheapest engineering work you will do on any project.
This guide walks through what a development board actually consists of, the categories you will encounter, the specifications that genuinely affect your project outcome, and how to match hardware to a use case before spending money. It also looks at where the ESP32 family fits relative to newer alternatives — including the Tuya T5, a board purpose-built for AI-capable connected devices — because the honest answer to "which board should I buy" sometimes involves a different chip altogether. The TuyaOpen dev boards page lists every supported board with documented pinouts, and the ESP32 chip family overview covers the Espressif side in depth.
What "ESP32 Board" Actually Means
Before comparing boards, it helps to separate three things that the word "ESP32" gets used for interchangeably in marketplace listings and forum posts.
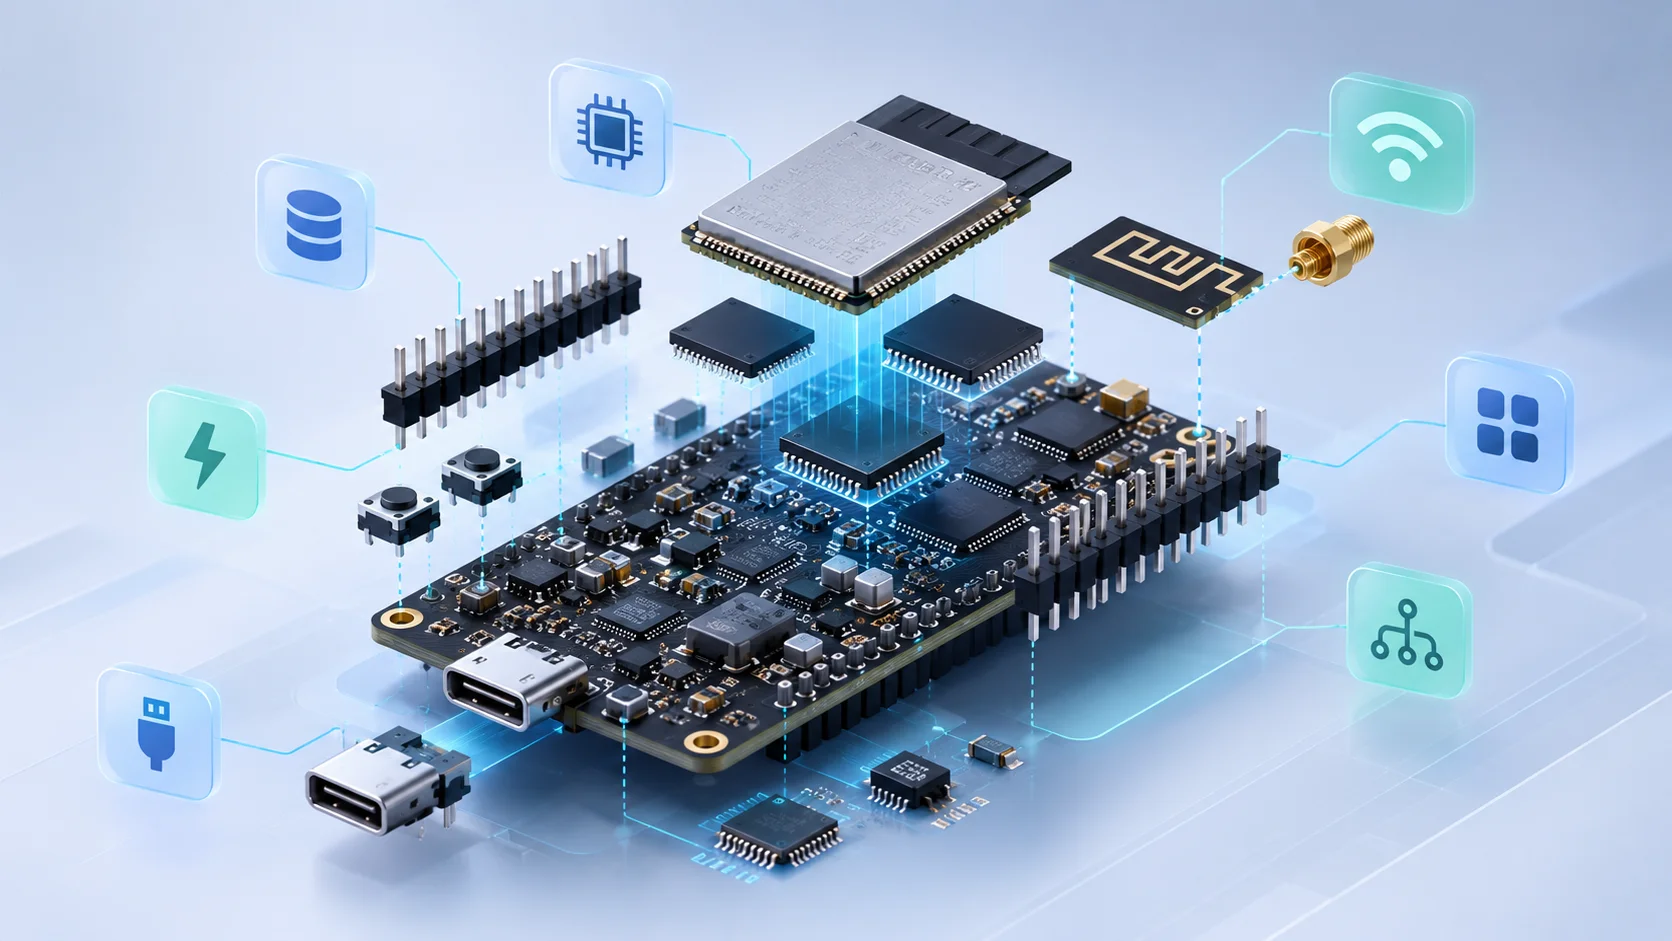
The chip. The bare silicon — an ESP32, ESP32-S3, ESP32-C3, or other variant. This is the processor, radio, and memory in one package. You cannot use it directly without a PCB providing power, clock, and programming interfaces.
The module. A chip plus the supporting circuitry needed to make it functional — a crystal oscillator, flash memory, an antenna trace, and shielding — packaged as a small surface-mount component. Modules like the ESP32-WROOM and ESP32-WROVER families are what most commercial boards are built from. Espressif publishes the module catalog with full specifications. Tuya's T5 follows the same pattern: the T5-E1 module packages the T5 chip with Wi-Fi 6 and Bluetooth 5.4 LE into a pre-certified 18 × 25.5 mm component available with either a built-in antenna or an IPEX connector for an external one.
The board. A module plus power regulation, a USB connector, a reset circuit, pin headers, and often user-facing peripherals like LEDs, buttons, or sensors. This is what you buy when you order an "ESP32 board," and it is what this guide focuses on.
Understanding these layers matters because the same module appears on wildly different boards. A WROOM-32 on a board with a generous linear regulator, proper decoupling capacitors, and a documented schematic will behave very differently from the same WROOM-32 on a board where the designer omitted those components to save a few cents.
The Main Types of ESP32 Board
Boards cluster into a few recognizable categories, each suited to a different kind of project.
- Classic dev boards. The familiar wide board with two rows of pins, a USB connector, and a reset/boot button pair. They are the default for learning and general prototyping, and they expose most of the chip's pins. The trade-off is physical size.
- Compact boards. Boards like the ESP32-C3 Super Mini shrink the design to a thumbnail while keeping Wi-Fi and a handful of usable GPIOs. They are ideal for finished projects in small enclosures and battery-powered devices, at the cost of pin count and sometimes power headroom.
- AI and multimedia boards. Boards built around the ESP32-S3 add the compute for voice recognition and simple vision tasks, often with a microphone, camera interface, or audio codec. These are the boards you reach for when the project has to do something intelligent at the edge.
- Display boards. Boards with an integrated screen — the ESP32-2432S028R family being a well-known example — turn a microcontroller into a small human-machine interface. The TuyaOpen dev boards catalog includes several display-integrated options across both ESP32 and T5 platforms.
- Camera boards. Boards with a camera connector and the supporting power design for image capture. They are convenient and power-hungry; plan your supply accordingly.
- Higher-tier AI boards. Boards like the Tuya T5AI-Board pair a purpose-built AI chip with dual microphones, a speaker, camera support, and LCD interfaces — sitting between a classic ESP32-S3 board and a full Linux single-board computer in capability.
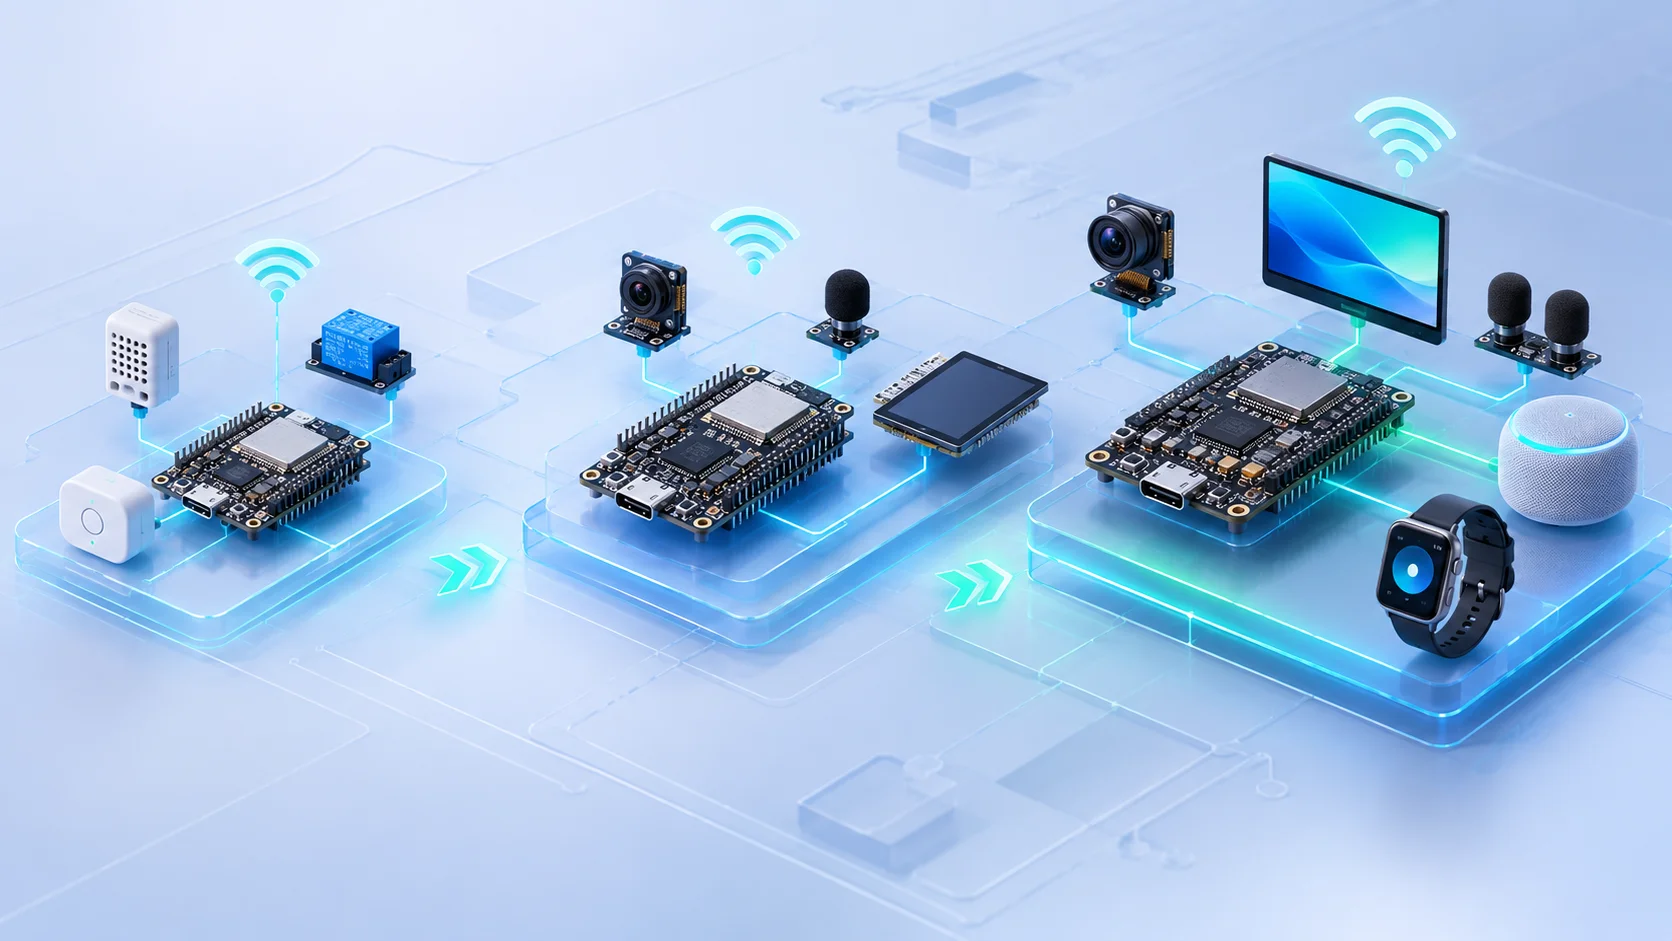
Most projects start with a classic dev board for learning and move to a compact or specialized board for the finished device.
The Specifications That Actually Matter
Spec sheets are long. The differences that affect your project are short.
Which chip. This is the first decision and it cascades through everything else. The ESP32-S3 for AI, audio, and larger GPIO counts; the ESP32-C6 for Wi-Fi 6 and Matter over Thread; the ESP32-C3 for small, inexpensive, low-power sensor nodes; the classic ESP32 for general-purpose work at low cost. And increasingly worth considering: the Tuya T5, which uses a 480 MHz ARMv8-M core with DSP and FPU, Wi-Fi 6, Bluetooth 5.4 LE, and hardware accelerators for JPEG, H.264, and display rendering — a step above the ESP32-S3 in raw compute while targeting similar use cases.
Flash and PSRAM. Flash stores your firmware; PSRAM is extra working memory for frame buffers, audio processing, and neural network inference. If your project handles audio, images, or any form of local AI, PSRAM is not optional. Not every board includes it, and boards that do typically cost more but save you from an impossible memory budget later. The T5-E1 module supports up to 8 MB flash and 16 MB PSRAM, which is generous by any development-board standard.
USB implementation. A native USB peripheral — standard on the ESP32-S3 and present on the T5 — lets the chip act as a USB device without an external bridge chip. This reduces bill-of-materials cost and board space, and it unlocks product designs where the device connects directly as a HID or CDC peripheral. Boards that rely on a USB-to-UART bridge are simpler to manufacture but less flexible in the final product.
Pin count and breakout. Count the usable GPIOs, not the total pins on the header. Some pins are power, some are ground, some are reserved for internal flash, and some are input-only. If your project needs a display, a sensor array, a camera, and a few buttons, the arithmetic matters. The T5 breaks out 56 GPIOs across its module package, with peripherals including 2× SPI, 3× UART, 2× I2C, 3× I2S, 12× PWM, and a high-speed USB 2.0 interface — enough to handle camera, audio, display, and sensor interfaces simultaneously.
Antenna. A PCB antenna is compact and adequate for most indoor deployments. A connector for an external antenna (IPEX or U.FL) is the better choice when the board sits inside a metal enclosure or far from the access point. The T5-E1 module comes in two packages to address both scenarios: a standard version with a built-in antenna and a T5-E1-IPEX variant with an external antenna connector. Match the antenna solution to the deployment environment, not the workbench.
Power design. A weak voltage regulator reveals itself as random resets when the radio transmits or a display panel lights up. This is the single most common hardware bug in clone boards and the hardest to diagnose without an oscilloscope. Boards with generous decoupling and properly rated regulators are worth a small premium. The T5 integrates on-chip buck converters and LDO regulators, with a deep-sleep current of 16 μA — a figure that matters for any battery-powered deployment where the device must wake periodically for sensor readings or voice activation.
Physical size and mounting. The board has to fit the enclosure you have in mind. Decide this before ordering, not after. The T5AI-Core, for example, is a compact voice-focused board with a 44-pin header and onboard lithium battery management, designed specifically for portable AIoT devices.
Where ESP32 Shines — and Where It Does Not
The ESP32 family earned its popularity through a genuine combination of strengths: integrated Wi-Fi and Bluetooth, a large open-source ecosystem, competitive pricing, and adequate compute for most IoT tasks. For a smart plug, a temperature sensor, a simple display controller, or a Wi-Fi-connected relay, an ESP32 board remains a strong default choice. The TuyaOpen platform supports the full ESP32 lineup — including the ESP32-WROOM-32E, ESP32-C3, ESP32-C6, and ESP32-S3 — with documented configurations and cloud integration.
But the ESP32 architecture, first introduced in 2016, was designed for a different era of IoT. The original dual-core Xtensa LX6 processor runs at 240 MHz. It lacks hardware acceleration for modern codecs. Its Wi-Fi tops out at 802.11n. And while the later S3 variant added vector instructions for basic AI workloads, the overall architecture was not designed for the on-device inference, high-resolution camera pipelines, and rich display rendering that connected devices increasingly require.
This matters because the projects developers are attempting have changed. Voice assistants, local keyword spotting, camera-based recognition, smart displays, and AI-powered wearable devices all push against the ESP32's ceilings. You can make some of these work on an ESP32-S3 with careful optimization, but you will spend engineering time that a more capable chip would eliminate.
The Tuya T5: A Board Built for What IoT Became
The Tuya T5 deserves attention because it addresses the gap between what ESP32 boards can do and what modern connected-device projects actually require. It is not an ESP32 alternative in the sense of competing for the same low-end sensor-node use case — it targets the projects that have outgrown the ESP32 architecture.
The core is a 480 MHz ARMv8-M processor with double-precision FPU, DSP instructions with SIMD, and TrustZone security. That is roughly double the clock speed of an ESP32-S3 on a more efficient architecture, with instruction sets that matter for signal processing and inference workloads. The chip is fabricated on a 22 nm process, which is what enables the 16 μA deep-sleep current — a figure that makes always-on voice activation and periodic sensor reporting viable on battery power.
The peripheral set tells the real story. The T5 includes a 1080p camera interface (8-bit CIS DVP), a 720p H.264 hardware video encoder, JPEG hardware encoder and decoder, a display controller supporting RGB and 8080 interfaces, three I2S channels with a four-band digital hardware equalizer, dual audio ADCs, an audio DAC, and a digital microphone interface. This is not a microcontroller that happens to have some extra peripherals — it is a system designed for devices that see, hear, speak, and display.
Connectivity is Wi-Fi 6 (802.11ax) with DL MU-MIMO, OFDMA, and Target Wake Time for power-efficient operation in dense wireless environments, plus Bluetooth 5.4 LE with LE Audio, direction finding (AoA/AoD), and advertising extensions. For comparison, the ESP32-S3 offers Wi-Fi 4 (802.11n) and Bluetooth 5.0 LE. The wireless gap is meaningful in environments with many concurrent devices or where Wi-Fi 6 router features like TWT can extend battery life.
Tuya has built a family of development boards around the T5 chip, all supported through the TuyaOpen platform:
- T5AI-Board — a voice and display multi-interaction board with dual microphones, a speaker, LCD stack module support (I2C, SPI, 8080, RGB interfaces), and camera capture. This is the board for a smart display, a voice-controlled hub, or an HMI panel.
- T5AI-Core — a compact voice development board with onboard microphone and speaker, 44-pin header, and lithium battery power management. Designed for portable AIoT voice devices.
- T5AI-Pocket — a handheld device with integrated display, camera, AXP2101 power management, BMI270 IMU, joystick, and cellular module support. Built for multimodal AI Agent and LLM applications.
- T5AI Pixel — a 32×32 LED panel board with WS2812B pixels, BMI270 6-axis IMU, buzzer, microphone, and speaker. Targets AI + pixel-art display applications.
- T5AI E-Ink NFC Board — combines an E-Ink display, NFC, touch panel, six-button layout, battery management, and SD card on a T5 base. Suited for low-power information displays and access-control devices.
Each of these boards ships with the TuyaOpen SDK pre-installed, including AI libraries and LVGL graphics support. The development workflow supports three paths: the TuyaOpen C SDK for enterprise-grade full-customization, Arduino IDE for rapid prototyping with community libraries, and Lua for lightweight script-based iteration.
Matching the Board to Your Project
The fastest way to choose is to start from the project requirements, not the board specifications.
- A battery sensor or a simple smart switch. A compact ESP32-C3 board is the right answer: small, inexpensive, and low power. The ESP32-C3-MINI is supported on TuyaOpen if you want cloud integration from the start.
- A voice interface or wake-word device. This is where the decision branches. An ESP32-S3 board with a microphone can handle basic keyword spotting. But if the project requires real-time audio processing, local AI inference, and a quality audio pipeline, the T5AI-Core with its DSP-capable 480 MHz core, hardware equalizer, and dedicated audio peripherals handles the workload without the software contortions an ESP32-S3 would require.
- A Matter-compatible smart-home device. An ESP32-C6 board, for its Wi-Fi 6 and 802.15.4 radio supporting Thread and Matter.
- A device with a screen and camera. A display board like the ESP32-2432S028R works for simple HMI panels. For anything requiring high-resolution camera capture, video encoding, or smooth display rendering alongside AI processing, the T5AI-Board or T5AI-Pocket provides the hardware pipeline — 1080p camera input, 720p H.264 encoding, and a display controller that does not compete with the CPU for bandwidth.
- An AI wearable or smart glasses prototype. The T5's combination of camera interface, audio pipeline, BLE 5.4 LE Audio, and 16 μA deep sleep in a compact module makes it one of the few development boards where a tethered AI wearable prototype is realistic. Tuya specifically lists AI smart glasses and wearable AI cameras among the T5's target use cases.
- A learning project or simple prototype. A classic ESP32 dev board, which is forgiving, well documented, and inexpensive enough that a wiring mistake is a minor inconvenience.
Writing the answer as a sentence — "an S3 board with PSRAM and a camera connector" or "a T5AI-Board with dual microphones and LCD support" — makes the purchasing decision straightforward.
ESP32 vs. Other Development Platforms
It is worth knowing when any microcontroller board is the wrong tool, including ESP32.
vs. the ESP8266. Older and cheaper, with weaker wireless security and fewer peripherals. Adequate for the simplest Wi-Fi tasks; the ESP32 family has largely superseded it for new designs.
vs. the Raspberry Pi Pico W. The Pico W is a capable dual-core board with an excellent ecosystem, but the ESP32 family's wireless stack and cloud tooling are more turnkey for connected products, and the TuyaOpen platform adds an abstraction layer that the Pico ecosystem lacks.
vs. STM32 and other MCUs. STMicroelectronics and similar vendors offer superb microcontrollers with richer analog peripherals and industrial-grade temperature ranges, but usually without integrated Wi-Fi. Adding a separate radio means additional board space, BOM cost, and wireless certification. The ESP32's integration remains its advantage for connected devices, and the T5 extends that integration to include AI accelerators and multimedia peripherals.
vs. Linux single-board computers. A Raspberry Pi or similar runs a full operating system and handles heavy workloads, at higher cost, size, and power consumption. Use one when the job genuinely needs a general-purpose OS. Use a microcontroller board when the job is a dedicated connected device. The T5 occupies a useful middle ground: powerful enough for local AI inference and real-time multimedia processing, but still a microcontroller with deterministic real-time behaviour and microamp-level sleep current — something a Linux board cannot match.
vs. other AI-capable microcontrollers. The T5's closest competitors are boards built around the ESP32-S3 and the newer ESP32-P4. The S3 offers vector instructions but runs on an older architecture at lower clock speeds. The P4 is powerful but requires a companion chip (typically an ESP32-C6) for Wi-Fi, adding board complexity. The T5 integrates Wi-Fi 6, Bluetooth 5.4 LE, AI peripherals, and multimedia accelerators into a single chip with a 22 nm process — a level of integration that matters for product cost and reliability.
Avoiding the Clone Trap
A significant share of ESP32 boards on marketplaces are clones, and many are perfectly functional. But the cheapest ones cut corners in ways that matter.
- Weak regulators. The most common failure mode is a board that resets when the radio transmits or a display draws current. It is difficult to diagnose without an oscilloscope and easy to avoid by choosing boards with validated designs.
- Missing pull-up resistors. Some clones omit components that well-designed boards include, which manifests as unreliable boot behaviour or floating I2C lines.
- Undocumented pinouts. A board without a published schematic forces you to reverse-engineer it — time better spent on your actual project.
- No community or vendor support. A board that appears in no forum, tutorial, or supported-hardware list is a gamble with your project timeline.
The practical defence is to prefer boards with a known schematic and a track record. The TuyaOpen dev boards page functions as a curated hardware list — every board there has documented pinouts, known-good SDK configurations, and community support. That is a meaningful filter regardless of which chip family you choose.
Getting Started Once You Have a Board
With the board in hand, the path to a working device follows a predictable sequence.
Set up the toolchain. Install the dependencies for ESP-IDF or an Arduino-compatible workflow. The TuyaOpen environment setup guide covers both paths for ESP32 and T5 boards, with platform-specific configuration handled through overlay files rather than manual board-file management.
Flash a trivial sketch. Blink an LED, print to serial, confirm the board programs reliably. Do this before anything else so that later problems have a smaller search space.
Connect to the cloud. Device provisioning and cloud linking are handled by the TuyaOpen SDK, which abstracts the networking layer. The Tuya IoT cloud integration documentation walks through the process for both ESP32 and T5 targets.
Add your application logic. Read sensors, drive outputs, process audio, render a display. Because TuyaOpen abstracts the hardware layer, your application code can often migrate to a different chip family later without a full rewrite — a practical advantage when migrating from an ESP32 prototype to a T5 production device, for example.
Build in OTA before you ship. Over-the-air firmware updates are essential for any deployed device, and retrofitting them after launch is painful. TuyaOpen includes OTA as a platform-level service.
Validate in the final enclosure. Thermal behaviour and RF performance change inside a product housing. Test there, not just on an open desk.
Dev Board, Module, or Custom PCB?
A question that surfaces once a project stops being a prototype: should you keep using a dev board, embed a module, or design your own PCB?
Dev board — appropriate for learning, prototyping, and one-off builds. Inexpensive, forgiving, and requires no manufacturing. Not appropriate for volume production, where its size and cost are both liabilities.
Module — the middle path and the one most products take first. You build a carrier board around a module like an ESP32-WROOM or the T5-E1, keeping the module's radio certification and proven layout while controlling the surrounding hardware. This is the standard route from prototype to product, and it keeps wireless certification manageable because the module is already certified. The T5-E1 is available in two packages — with a built-in antenna or with an IPEX connector — giving you antenna flexibility at the module stage.
Custom PCB with the bare chip — the high-volume option. It saves unit cost and board space at scale, but it means handling RF layout, antenna design, and certification yourself. That is a genuine engineering effort, and it is only justified once volume demands it.
The practical sequence most teams follow is dev board, then module-based carrier board, then bare chip if volume requires it. Choosing a platform whose SDK abstracts the hardware — as TuyaOpen does across both ESP32 and T5 targets — keeps that sequence economical, because application code migrates with you rather than being rewritten at each stage. The TuyaOpen hardware documentation covers the module and board options appropriate to each phase.
FAQ
What is the best ESP32 board for beginners? A classic dev board with a well-documented pinout. It is forgiving, inexpensive, and supported by the most tutorials. Move to a compact or specialized board once your requirements are clear.
Do I need a board with PSRAM? Only if your project handles audio, images, display rendering, or local AI inference. For simple sensor nodes and switches, standard flash is sufficient.
Are cheap ESP32 boards from marketplaces reliable? Often yes, but verify that a published schematic exists and that the board has a track record in community projects. Weak power design is the most common clone defect and the most difficult to diagnose.
ESP32-C3 or ESP32-S3? The C3 for small, low-cost, low-power devices with basic Wi-Fi needs. The S3 for AI, audio, vision, and projects requiring more GPIO. See the TuyaOpen ESP32 overview for detailed comparison.
When should I consider the Tuya T5 instead of ESP32? When your project requires on-device AI inference, high-resolution camera input, hardware video encoding, rich audio processing, or a high-resolution display — and you still need Wi-Fi connectivity in a power-constrained form factor. The T5 targets the gap between ESP32-class microcontrollers and Linux-class single-board computers. Explore the T5 product page for detailed specifications.
Can I use TuyaOpen with any ESP32 board? TuyaOpen supports a range of ESP32 variants and T5 boards. Check the dev boards page for the current supported list before purchasing.
Do I need an external antenna? Only if the board sits inside a metal enclosure or far from the wireless access point. A well-placed PCB antenna is adequate for most indoor deployments. The T5-E1-IPEX module exists for cases where an external antenna is necessary.
How many GPIOs do I actually get? Count the usable ones, not the total header pins. Power, ground, reserved flash pins, and input-only pins are not available for general I/O. Match that count to your peripheral requirements before ordering.
Should I buy a kit or a bare board? A kit bundles cables, a breadboard, and basic components — the better first purchase because it eliminates the common problem of a charge-only cable masquerading as a data cable. Once you know your workflow, buying boards individually is more cost-effective.
What about boards with a built-in camera or display? They are convenient and worth the premium when the peripheral is central to the project, since integrating a camera or display from scratch involves fiddly power-supply and timing work. Buy the integrated board when the feature is the point of the project; buy a plain board when it is not.
Final Thoughts
Choosing a development board is mostly about refusing to be distracted by specifications that do not affect your project. Identify the chip class that fits your workload, then choose the board whose size, pin breakout, power design, and documentation quality match your deployment requirements. Prefer boards with published schematics over anonymous clones. Decide early whether you need PSRAM, native USB, hardware video encoding, or an external antenna — because those requirements, once identified, usually determine the answer.
The honest landscape assessment is that the ESP32 family remains excellent for its original design targets — connected sensors, smart switches, basic displays, and general-purpose IoT prototyping. But the projects developers are building have grown more demanding, and boards like the Tuya T5 exist because the ESP32 architecture was not designed for 1080p camera pipelines, local voice AI, hardware video encoding, and rich display rendering at 16 μA sleep current. The T5 is not a replacement for the ESP32 in simple applications; it is the next step for projects that have outgrown it.
If you would rather start from hardware that someone has already validated, TuyaOpen documents every supported board, pairs them with an open-source SDK, and provides a path from prototype through cloud connection to over-the-air updates. The quick-start guide takes you from toolchain to cloud in a single session, and the dev boards page lets you compare hardware across both ESP32 and T5 options before committing to a purchase.