Hello World — IDE basics
Run an official example with zero code and learn the core TuyaOpen IDE chain: pick board → build → flash → read logs.
This is the smallest closed loop — you write no code, you just run an official example through the IDE. Finishing it teaches the core operation chain: pick board → build → flash → read logs.
Prerequisites
- The IDE extension is installed — see Install TuyaOpen IDE.
- A T5 AI Board (
T5AI_Board), connected to your computer with a USB cable.
Step 1: Enter from the board catalogue
-
Open VS Code or Cursor and confirm the TuyaOpen IDE extension is enabled.
-
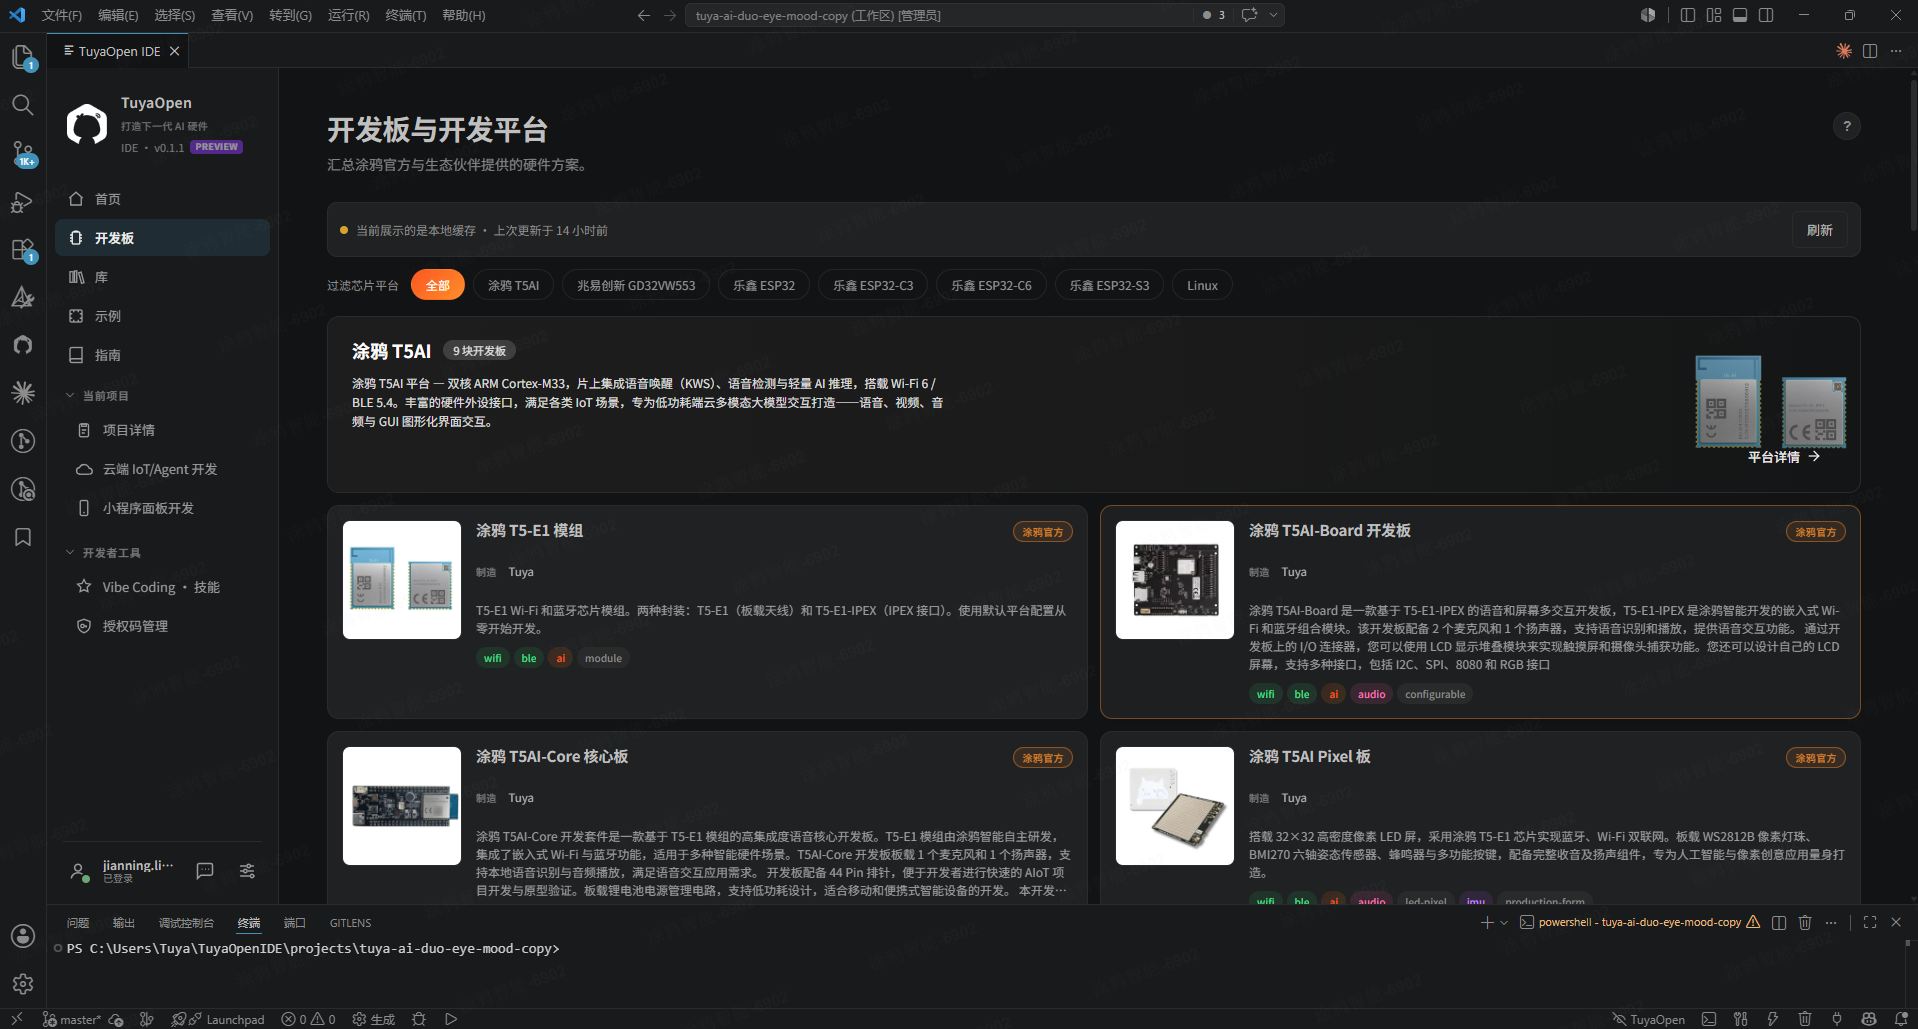
Click the Board Catalogue icon in the left activity bar to browse the supported boards, chips, and SoC platforms with their full specs.
-
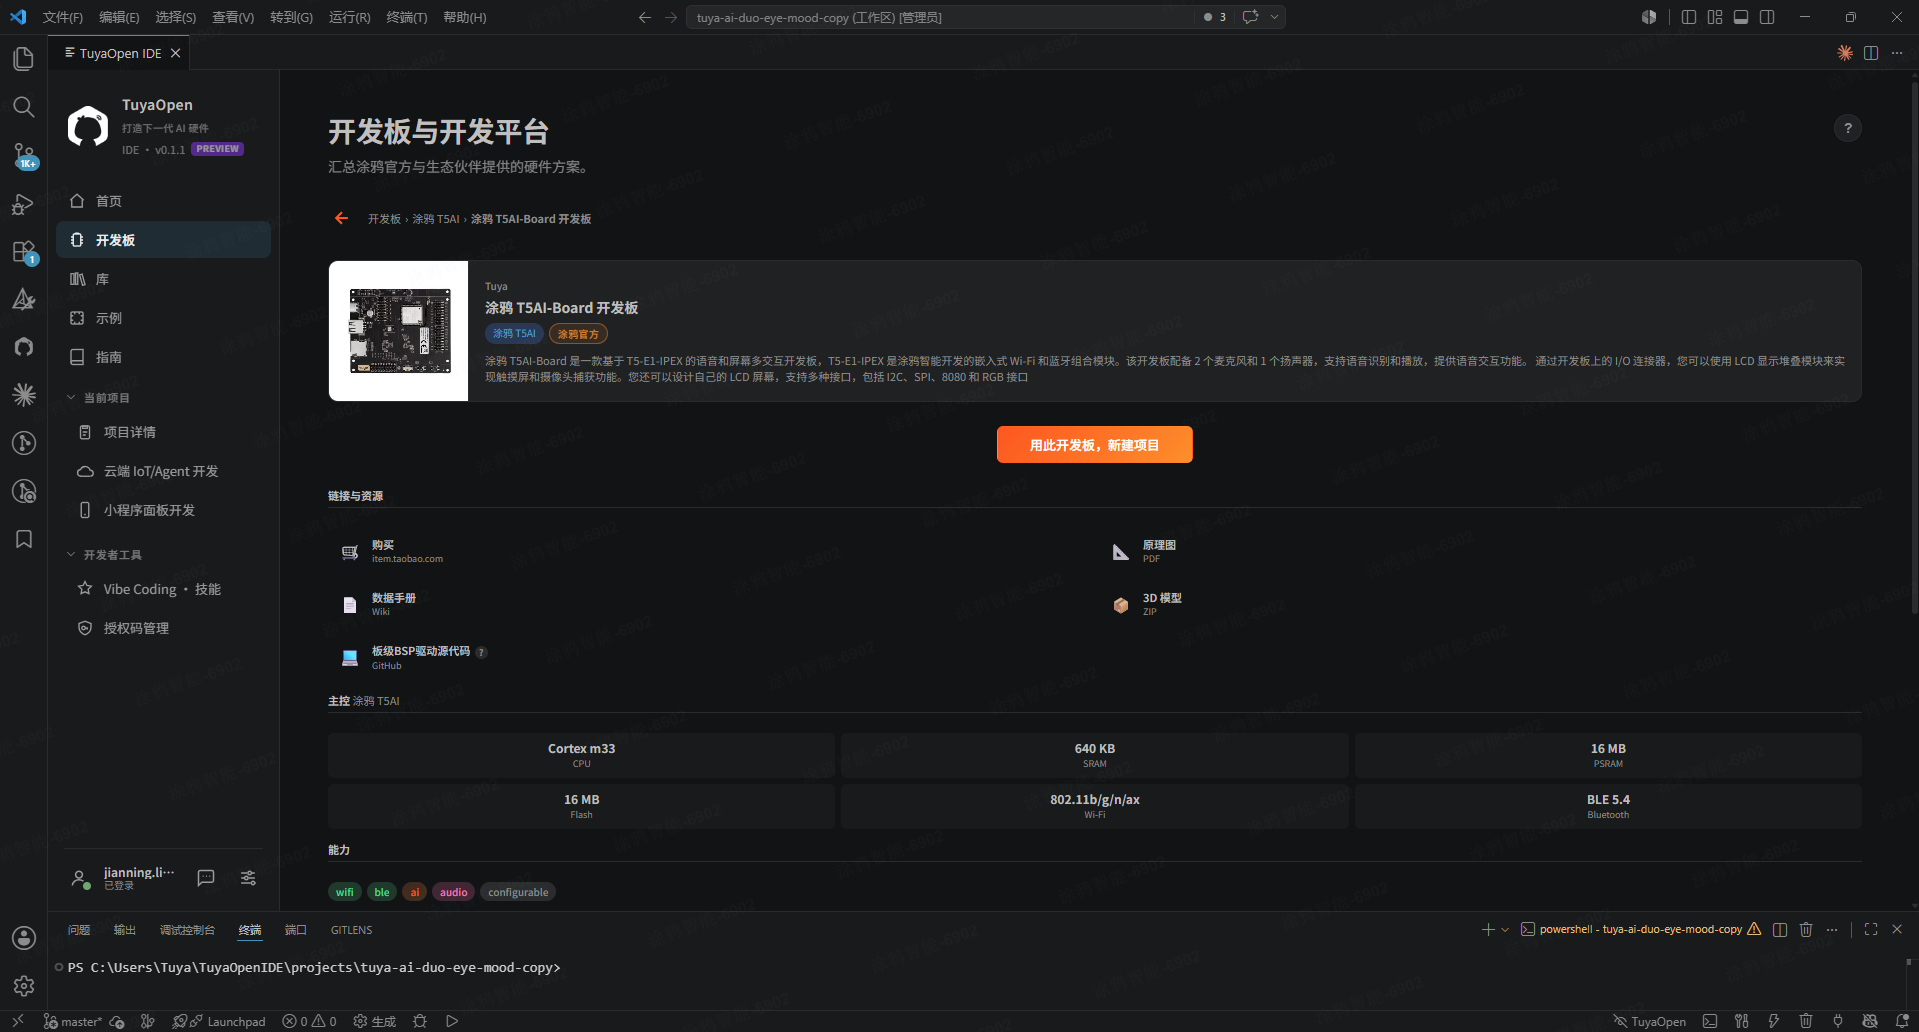
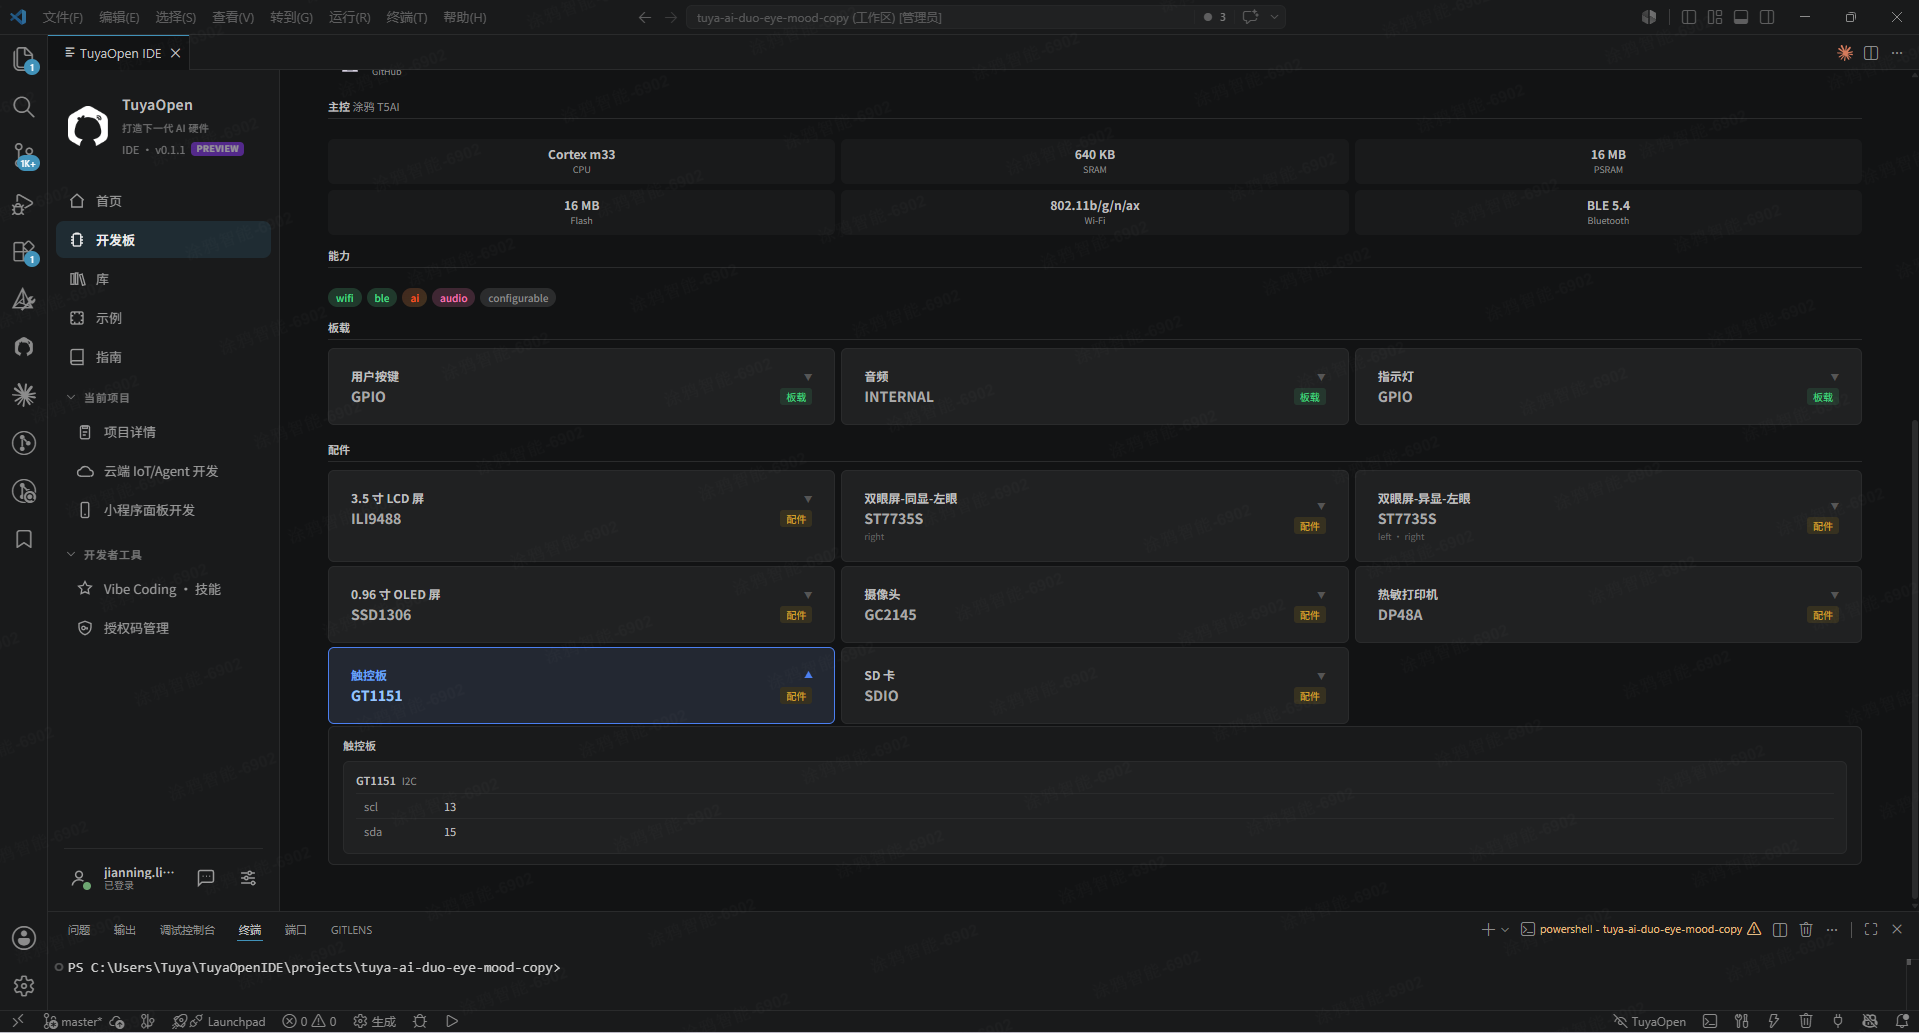
Find T5AI_Board in the list and open its detail page. You see a large amount of developer material — purchase links, schematics, datasheets, source code, 3D models, and more.
Step 2: Create an example project
-
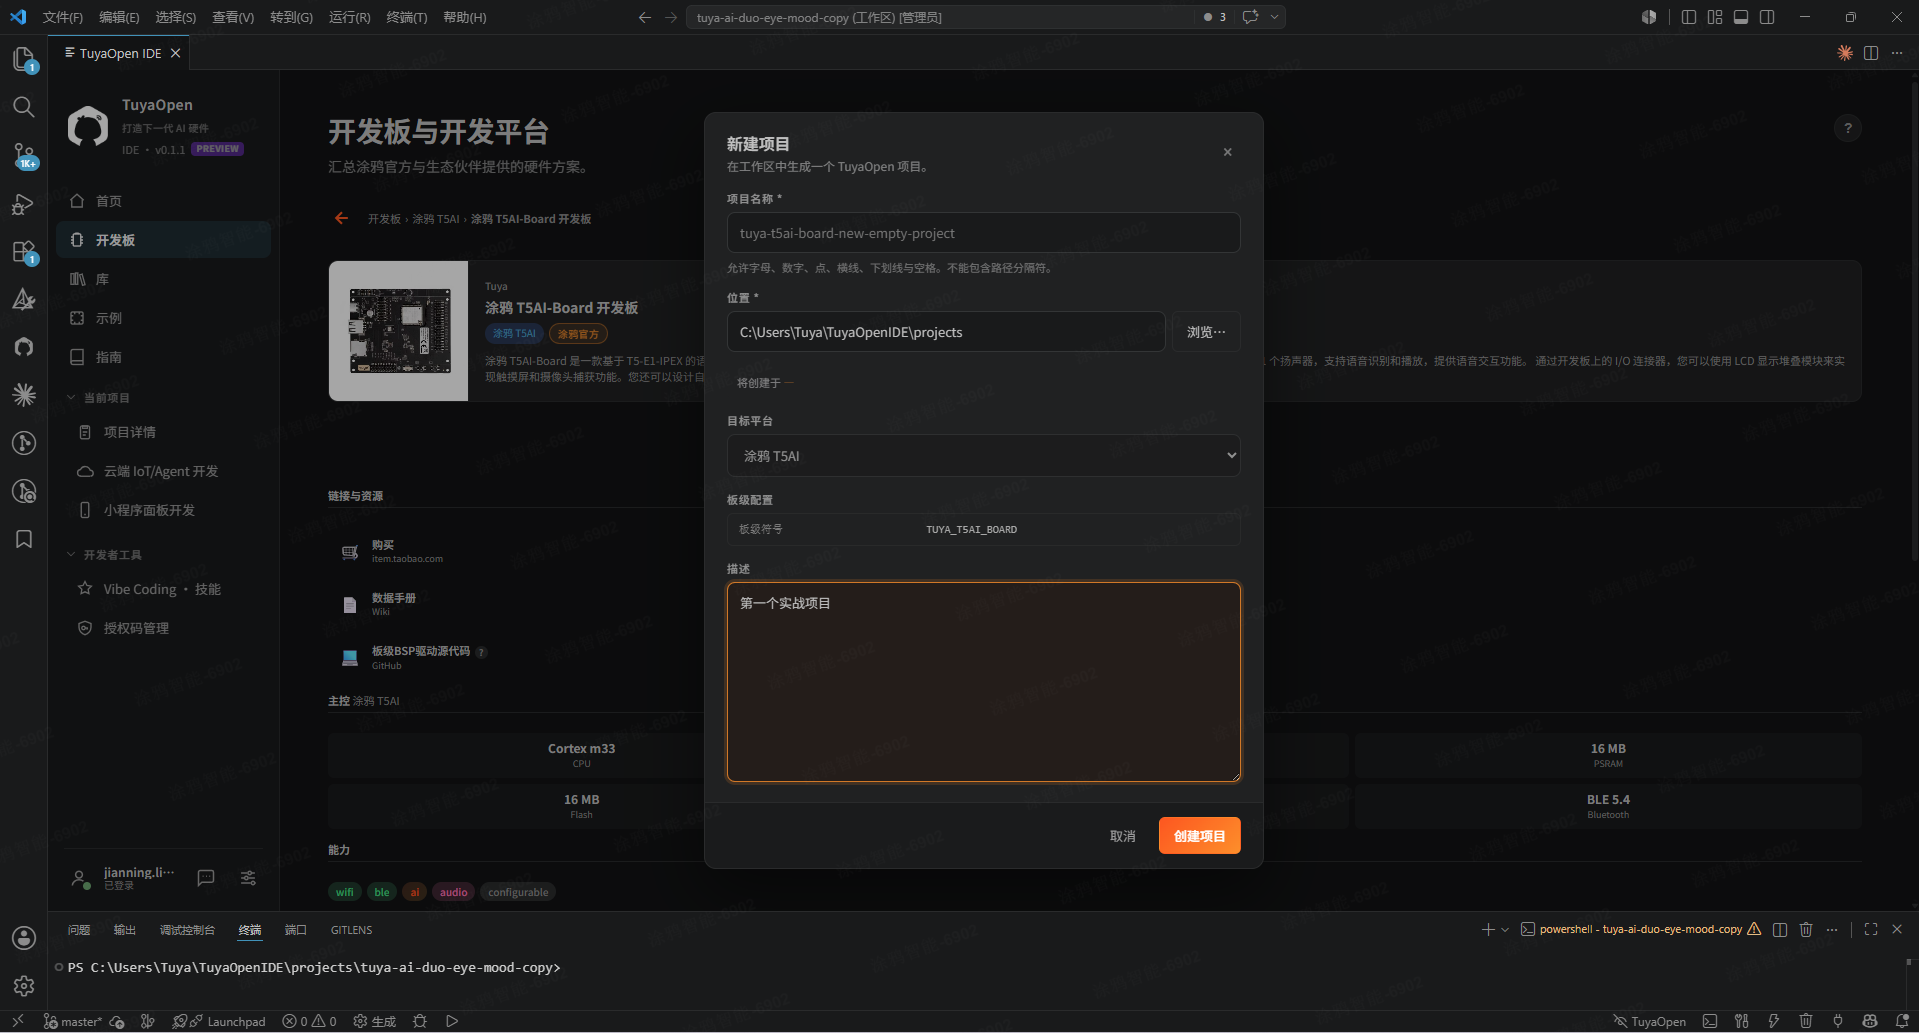
On the T5AI_Board detail page, click Create project from this board.
-
Fill in a project name and a location, then click Create project.
-
The IDE derives a project into your workspace and auto-configures the T5AI_Board board-level information.
Step 3: Build
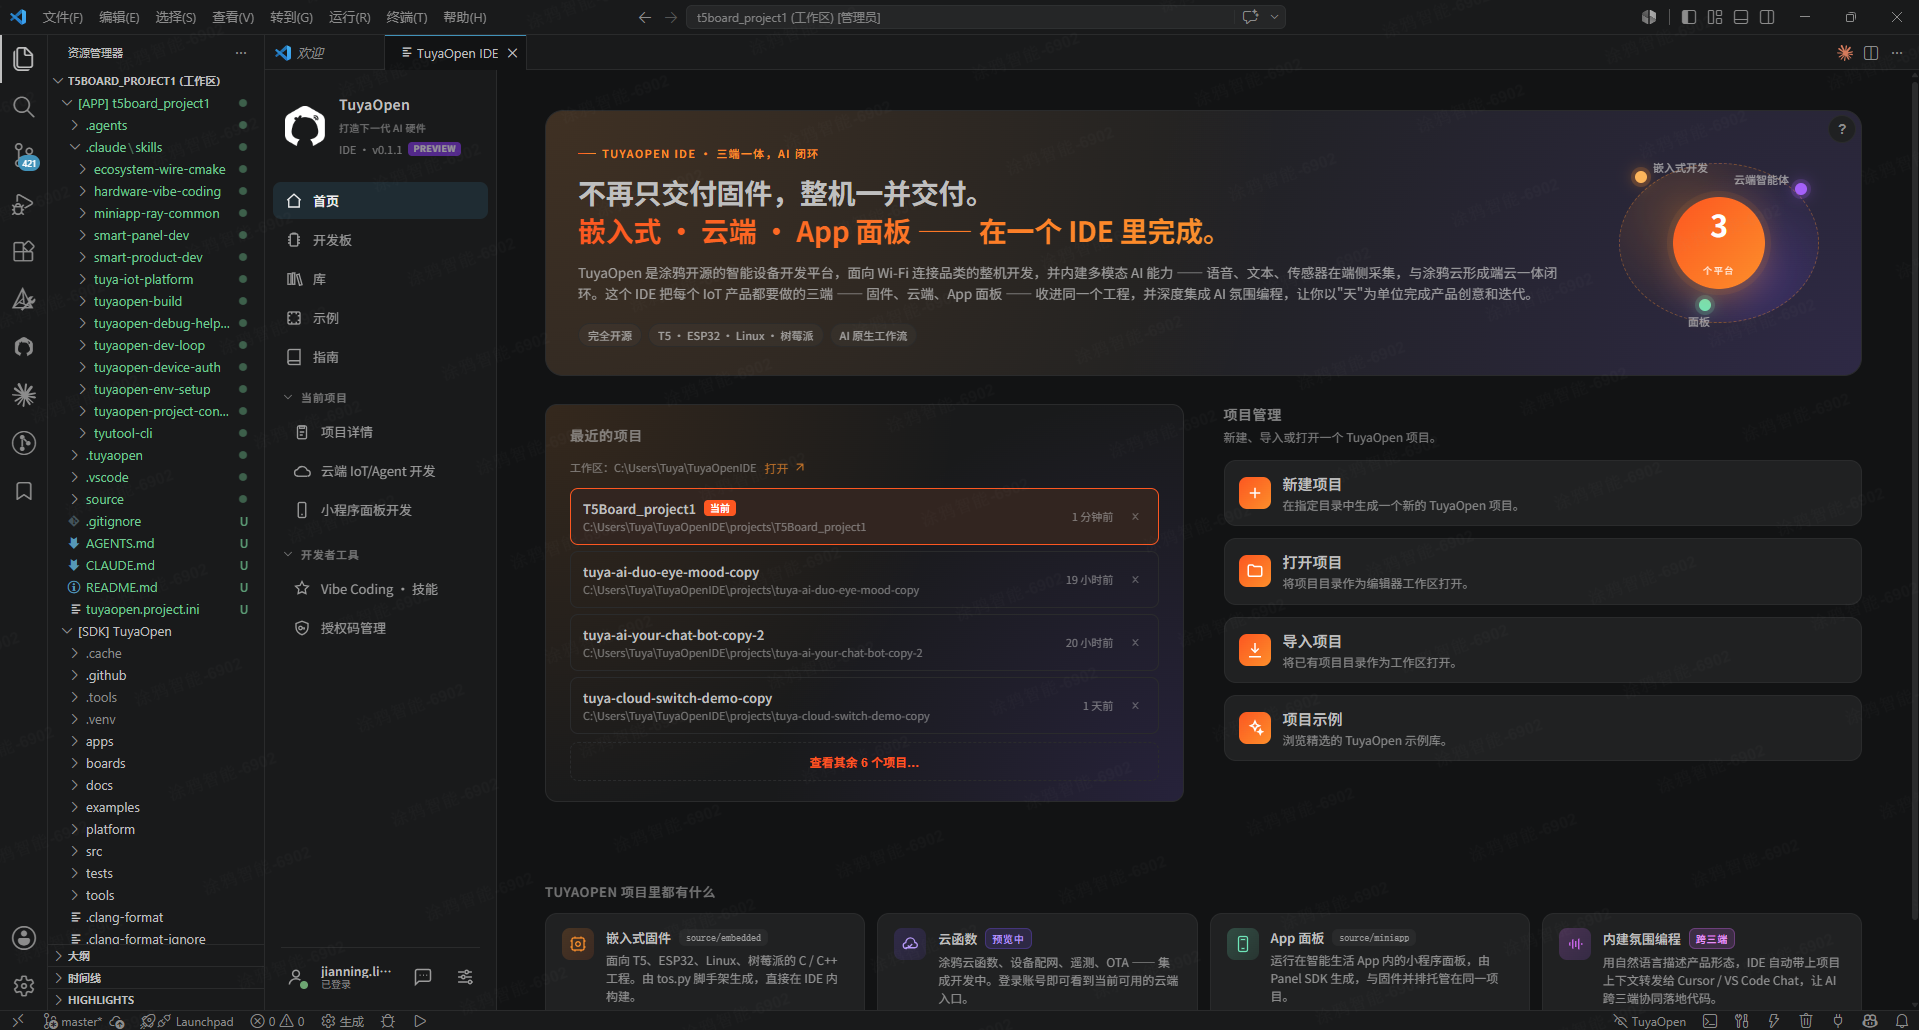
Open Project Details in the IDE toolbar and build — click Build now in the middle, or Build under Hardware firmware operations at the top right. Wait for the build to finish.
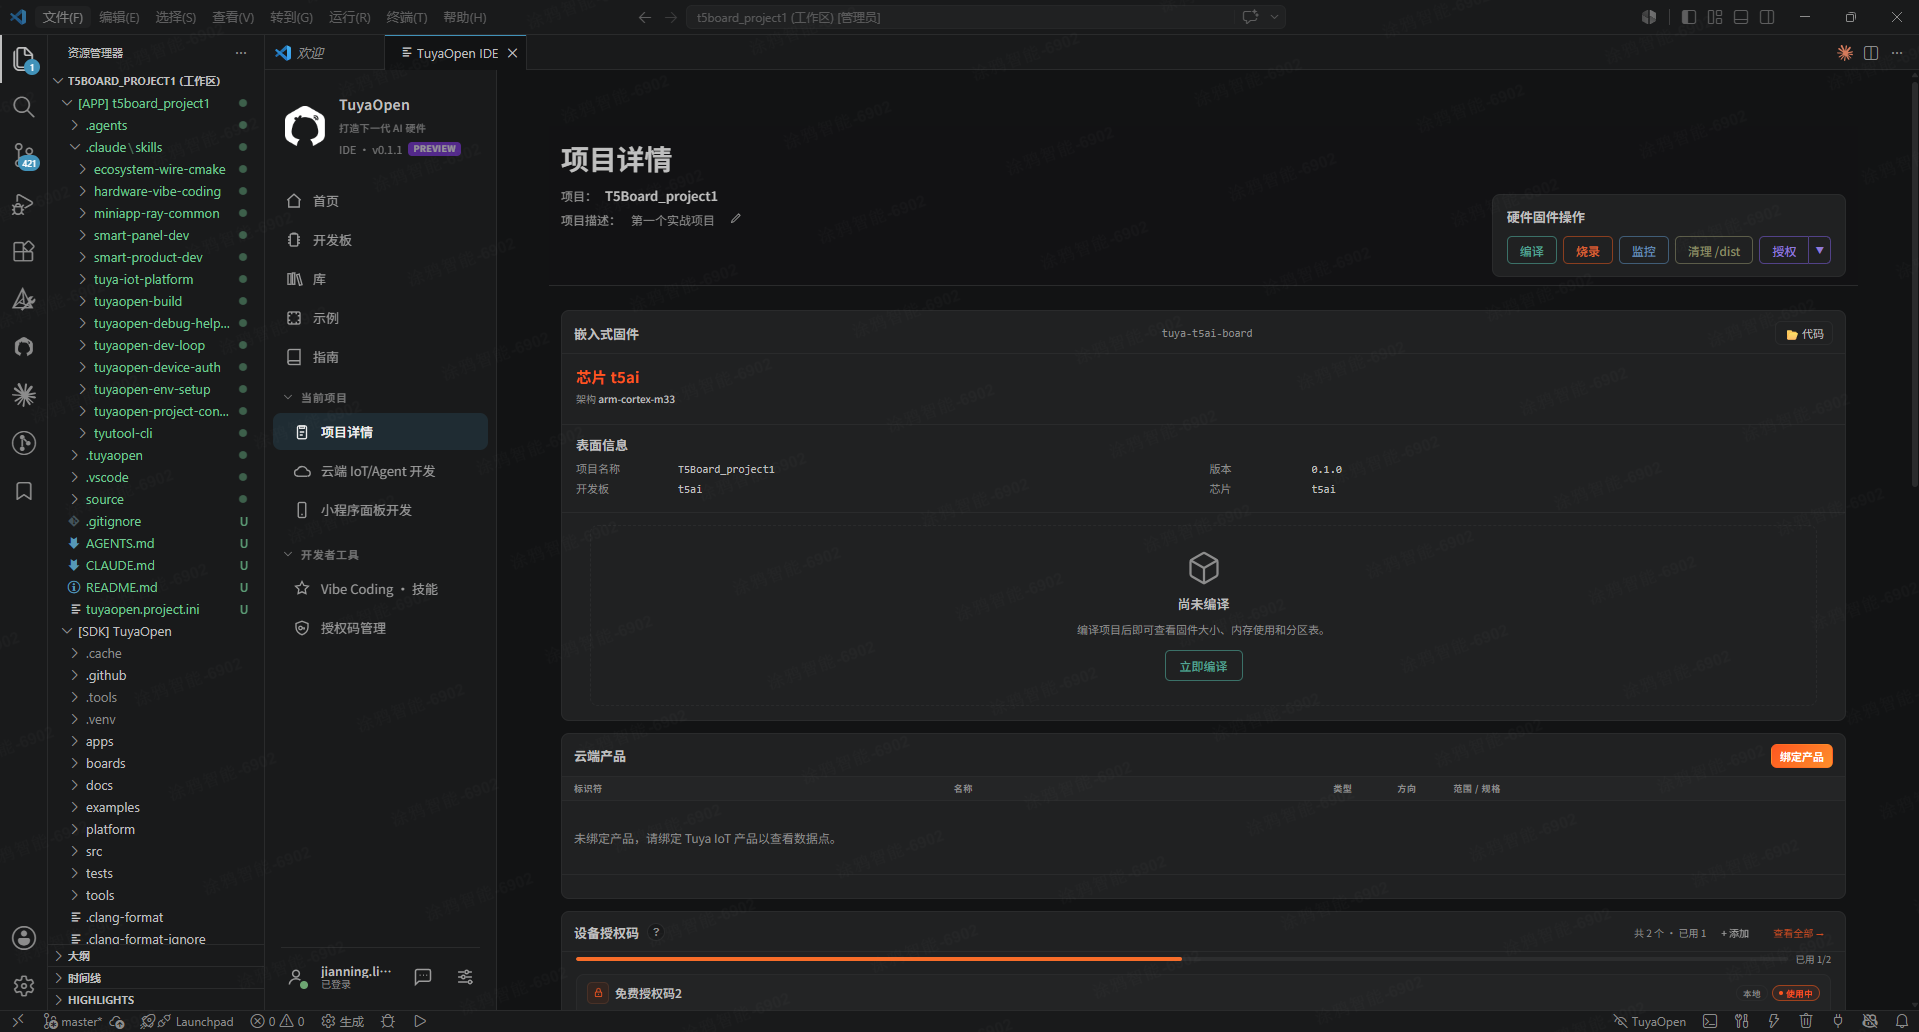
Expected output (build success):
[NOTE]:
====================[ BUILD SUCCESS ]===================
 Target    : T5Board_project1_QIO_1.0.0.bin
 Output    : .../dist/T5Board_project1_1.0.0
 Platform  : T5AI
 Chip      : T5AI
 Board     : TUYA_T5AI_BOARD
 Framework : base
========================================================
The Project Details view shows the firmware status visually.
Step 4: Flash
-
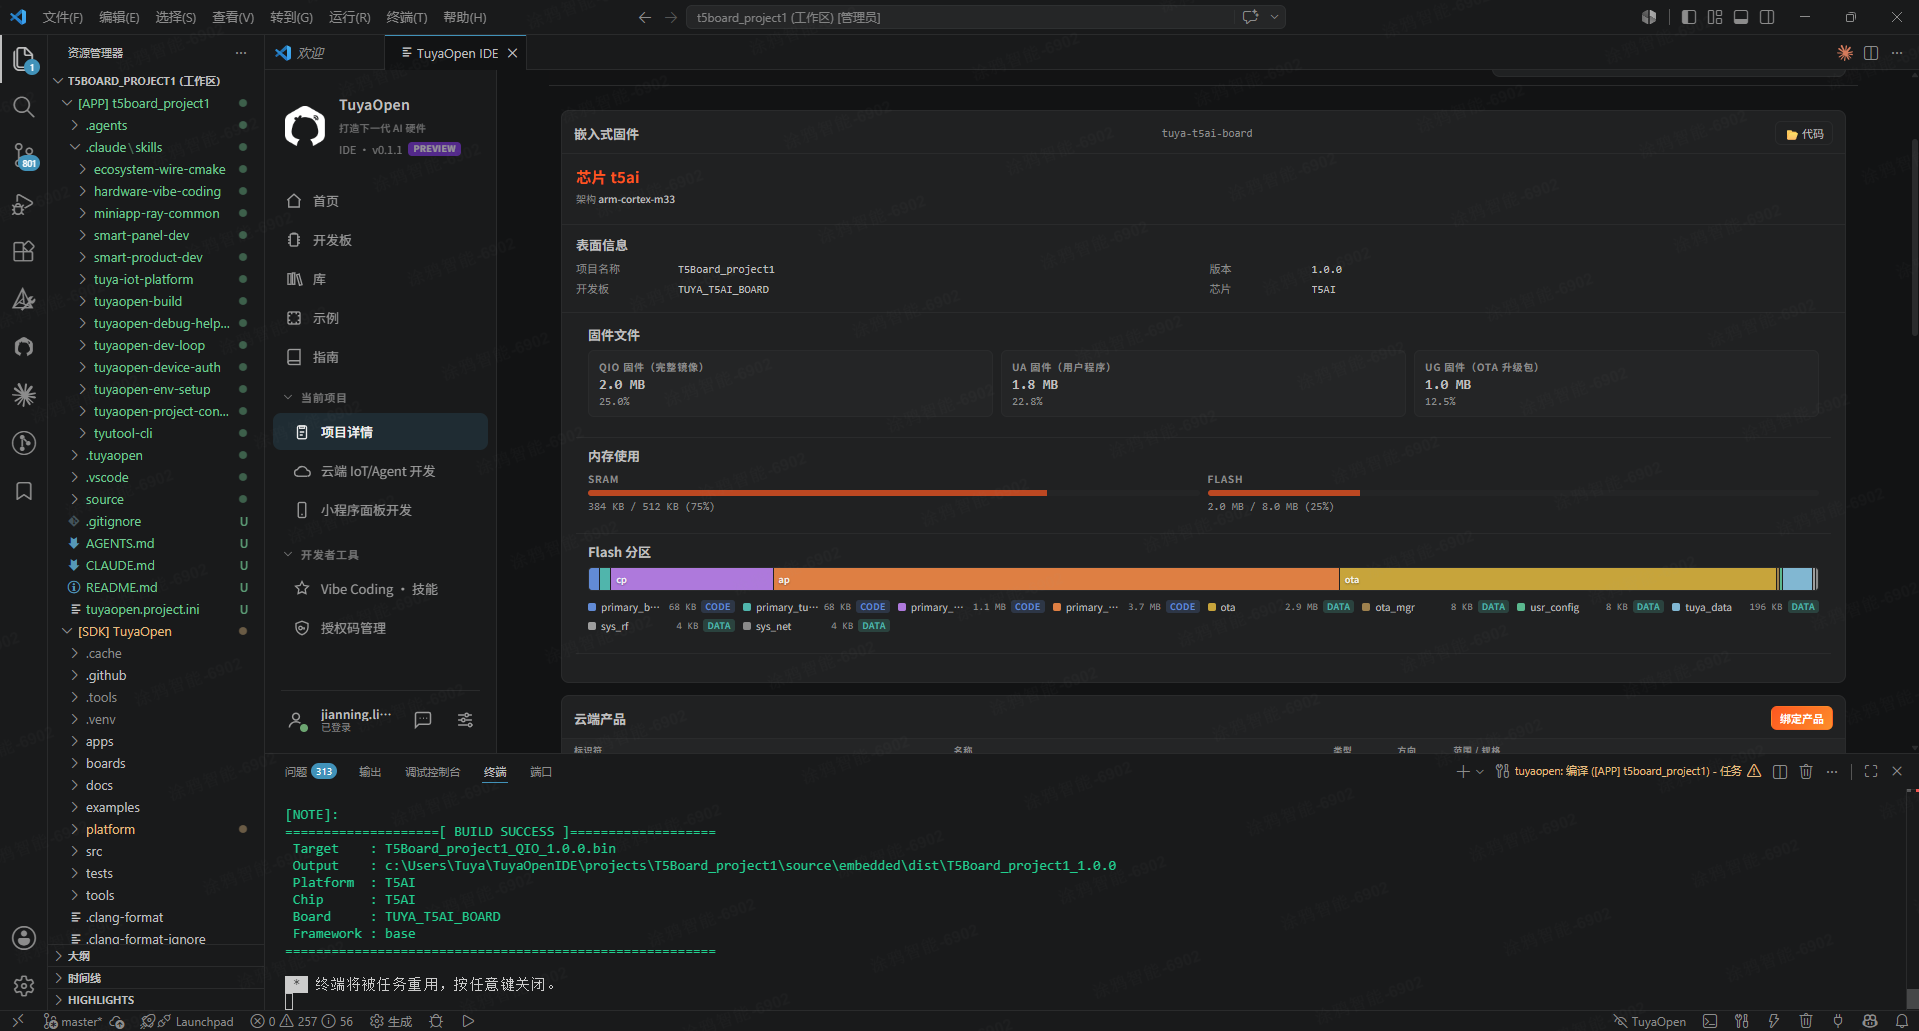
Connect the board with USB. The T5AI_Board has two serial ports — one for flashing and one for logs. Make sure your USB cable carries data, not just power.
-
Click Flash. If you are unsure which port is the flash port, try either one. Here
COM4is selected.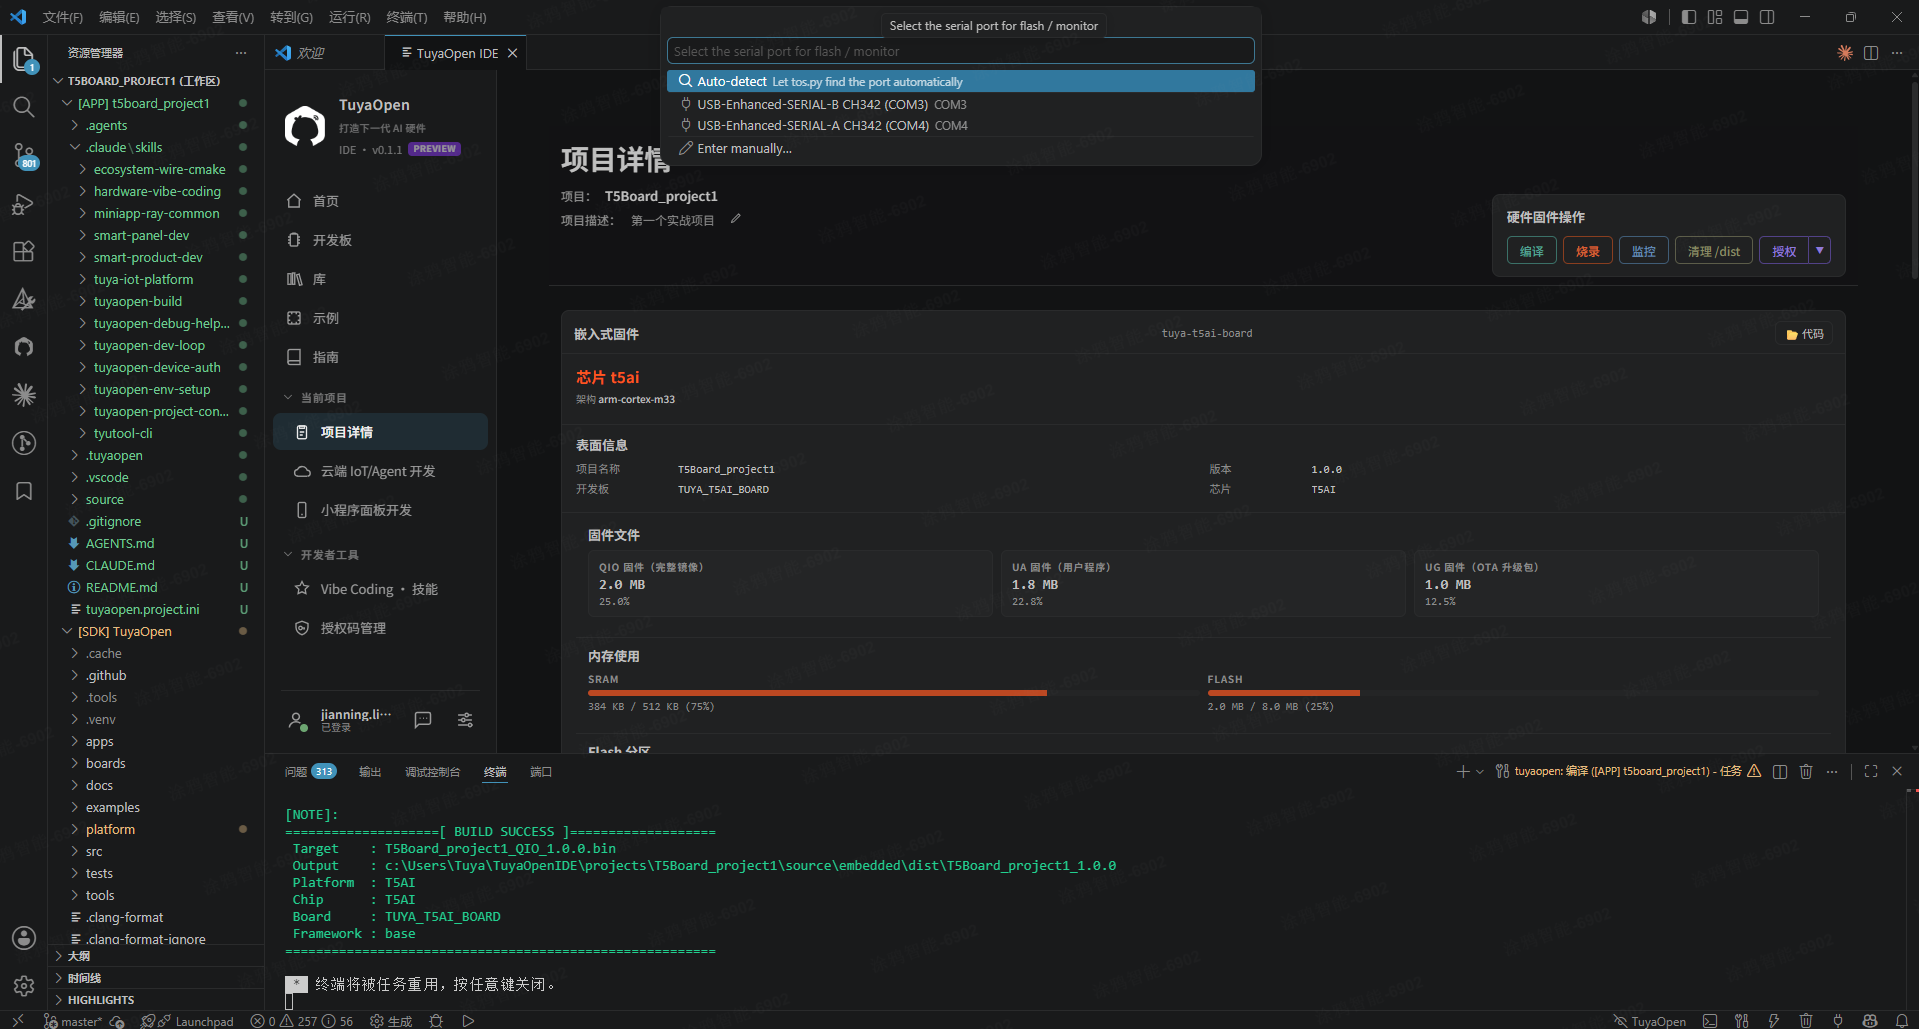
Expected output (flash success):
write  T5AI  COM4  921600
  File   .../bin/T5Board_project1_QIO_1.0.0.bin  2.0 MiB
  Range  0x00000000 -> 0x001FF1E0

Handshake         OK
Flash ID          OK
Unprotect         OK
Write [1/1]       OK
...
Flash OK  38.9s
Step 5: Monitor the serial log
Click Monitor and select the log port — here COM3. When you see hello world, your first TuyaOpen project is running.
Expected output:
[01-01 00:00:00 ty D][tuya_app_main.c:8] hello world
If you do not see hello world, the monitor most likely opened too late — the line prints the moment flashing completes. Do not close the monitor terminal; flash again and the message appears.
Next step
You have the IDE basics. Continue with Practice 2: your_chat_bot — build a cloud-connected AI chat device end-to-end.