How Can You Build 12 ESP32 Projects From Beginner to AI-Powered?
The best ESP32 project is not the most impressive one — it is the one that teaches you the next thing while being interesting enough to finish. The ESP32 is capable enough to run projects across a huge range: a blinking LED on day one, a wall-mounted dashboard in a month, a voice interface or an AI companion once you understand the pieces. That range is exactly what makes choosing a project hard, because the internet offers thousands of ideas without ever telling you which ones actually move you forward. The chip family is documented thoroughly by Espressif, but the projects around it are mostly unvetted tutorials of wildly varying quality.
Two shifts make project choice more consequential than it used to be. The Internet of Things has moved from hobby to infrastructure, so a well-built device has real use rather than novelty value. And edge AI has become practical on microcontrollers — the TinyML Foundation tracks the growing list of models that run on hardware like this — so a weekend project can now include genuine on-device intelligence rather than a remote API call dressed up as one.
This guide lists twelve projects in roughly increasing difficulty, explains what each one teaches, and points out where a project stops being a toy and starts being a product. It is written alongside the TuyaOpen learn hub and the TuyaOpen dev boards page, and it assumes you are building on the ESP32 family — the overview is the place to start if you are still choosing a chip.
How to Choose a Project That Actually Gets Finished
Before the list, a framework. Most abandoned projects fail for one of four reasons, and avoiding them is more useful than any specific idea.
It has no purpose beyond the build. A project that only demonstrates a feature is finished the moment it works, and then it sits in a drawer. Prefer projects that solve a small real problem — a plant that needs watering, a room that needs monitoring, a device that needs controlling.
It requires hardware you do not have. A project that stalls while you wait for a delivery is a project that may never restart. Start with what you have, or choose projects built around a board you already own.
It skips the boring parts. Provisioning, reconnection, and updates are the parts that make a prototype usable. A project that ignores them works only on your desk.
It is too big for one weekend. A project with ten subsystems is demoralising. Pick one subsystem, finish it, then add the next.
With that framework, the projects below are ordered so each one adds a skill to the last.
Learn by building, on documented hardware
The TuyaOpen learn hub pairs guides with hardware you can actually buy and code you can run. Explore TuyaOpen learn →
Beginner Projects (Weeks 1–2)
These are small on purpose. Each one verifies a layer of the stack so that later problems have a smaller search space.
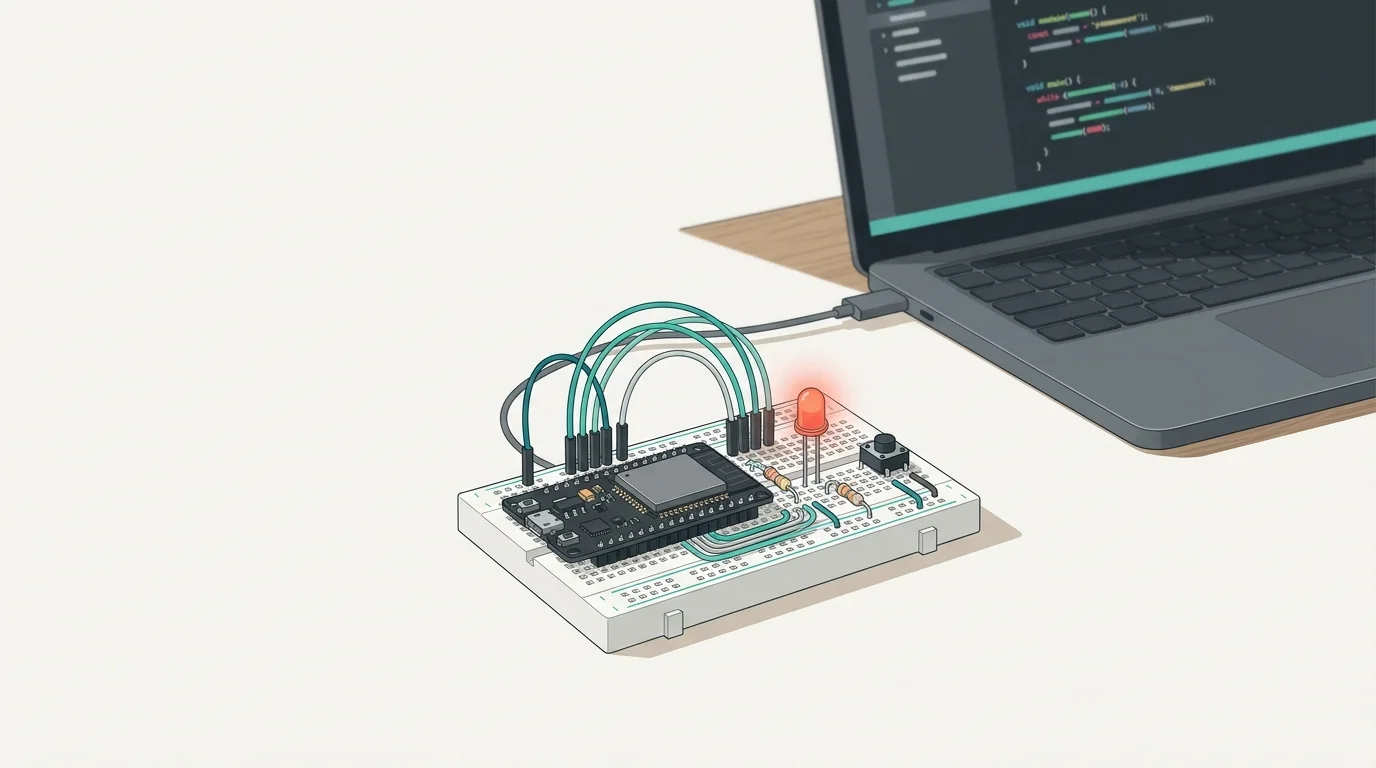
1. Blink an LED. The hello-world of embedded development. It confirms your toolchain, your board selection, and your USB connection all work. Set it up as described in the Arduino IDE walkthrough, and check the pinout guide if the LED does not respond — it is often on a different GPIO than the example assumes.
2. Read a button. An extension of blink that teaches input, pull-ups, and debouncing. Small, but it is the basis of every user interface you will ever build.
3. Scan Wi-Fi networks. The ESP32's core feature, tested without credentials. This one teaches you the radio exists, works, and can be queried — and it is a useful diagnostic when a later project will not connect.
4. Serve a web page. Turn the board into a tiny web server with a button that toggles an LED. This is the first project where the ESP32 does something a "dumb" microcontroller cannot, and it introduces the client-server model you will use constantly.
Intermediate Projects (Weeks 3–6)
These combine multiple subsystems and start to look like real devices.
5. Temperature and humidity monitor. An I2C sensor plus Wi-Fi plus a cloud or local readout. This is the canonical IoT project, and it teaches sensors, networking, and reporting in one build.
6. Smart switch or relay controller. A relay driven by a GPIO, controlled from an app or a button, brings you to the edge of home automation. Power design matters here — the board selection guide explains why a weak supply shows up as random resets.
7. Display dashboard. Add a screen and show your sensor data locally. Boards like the ESP32-2432S028R make this affordable, and a proper UI framework such as LVGL makes it presentable.
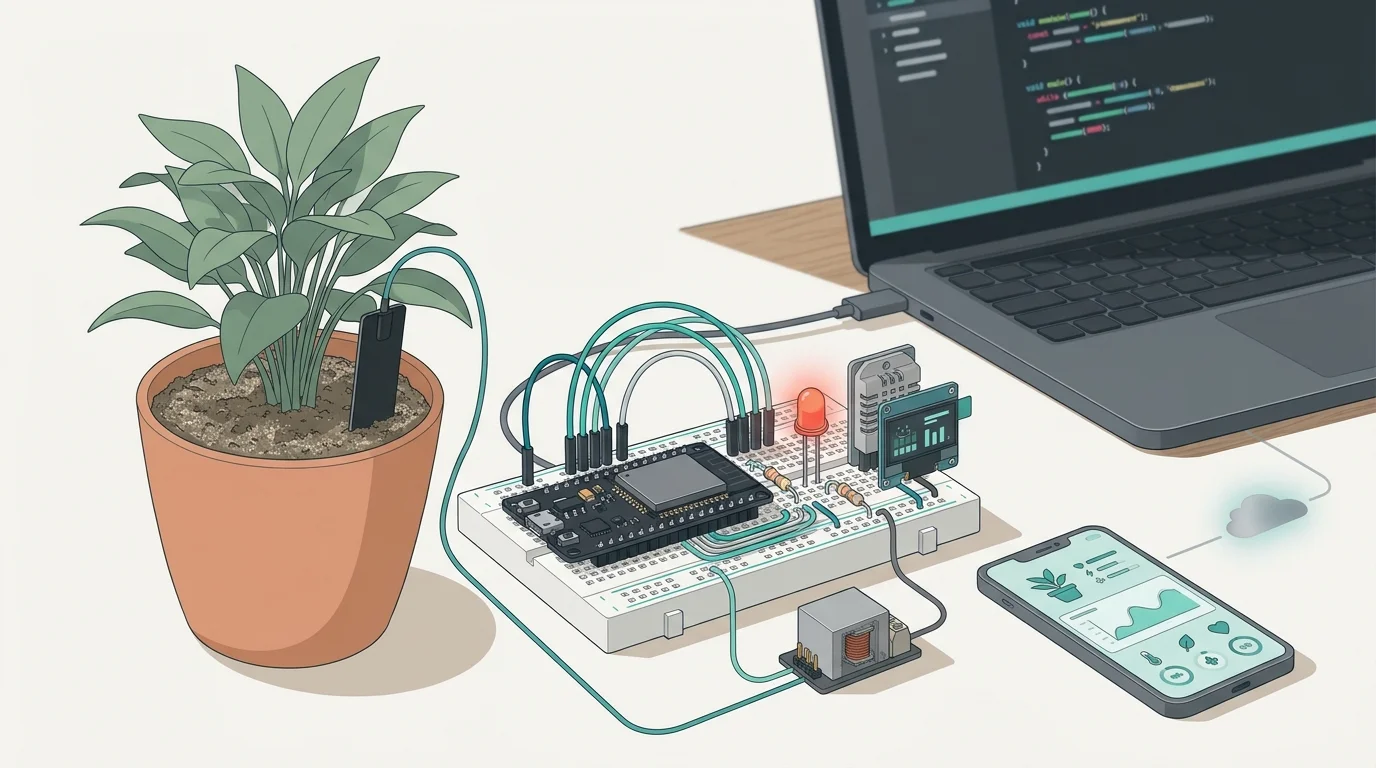
8. Plant or soil monitor. A moisture sensor, a pump, and an automation rule. This is the project that turns "I have a sensor" into "the plant waters itself," and it is a small, satisfying step into automation.
9. Presence-aware lighting. A motion or presence sensor that switches a light through an automation. It teaches event-driven design, which is how most real devices actually behave.
Advanced Projects (Weeks 6+)
These need the earlier projects as background, and they produce devices people would genuinely use.
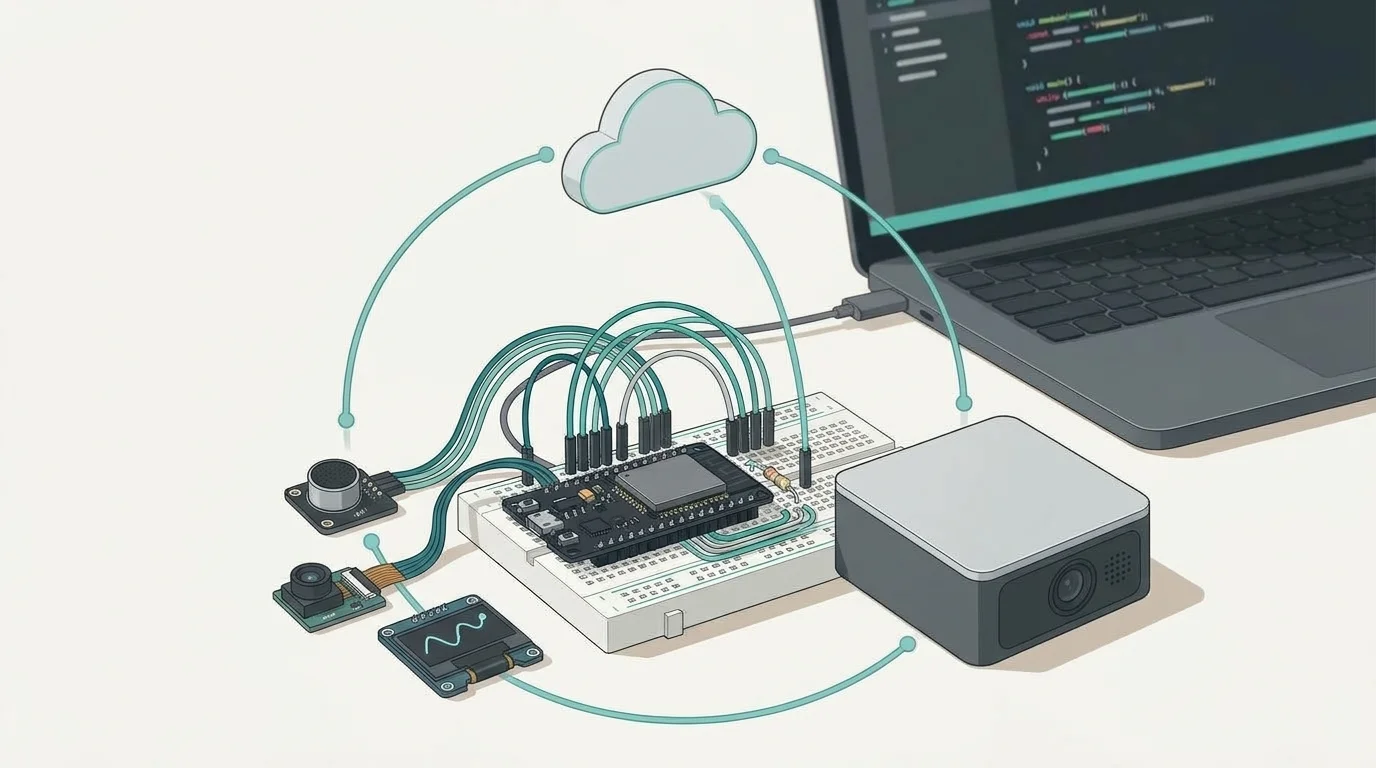
10. Camera or vision device. A camera module and a small vision model, running on a board with enough memory and compute — typically an ESP32-S3. Detecting motion, classifying an object, or recognising a face locally is a genuine edge-AI project, and it is where the S3's vector instructions earn their place.
11. Matter-compatible smart-home device. Build a device that works with the major ecosystems rather than a proprietary app. This requires a chip with the right radios — the ESP32-C6 is the natural choice — and a stack that implements Matter. It is the project that teaches interoperability rather than another API.
12. AI assistant or companion. A device with a microphone, a screen, and an AI backend. The always-on part — wake-word detection — runs locally; the reasoning happens in the cloud. TuyaOpen's device-AI demos show the architecture, and the T5 AI board is built for exactly this class of product.
Turn a project into a product
TuyaOpen supplies the cloud, provisioning, and OTA layers that separate a demo from something you can ship. Explore the TuyaOpen SDK →
Where to Find More ESP32 Project Ideas
Once the basics are behind you, the useful sources are specific rather than general.
- The official ecosystem. Espressif's documentation and examples are the reference for what the chip can do, and the SDK repos on the TuyaOpen GitHub include working code for connected devices.
- Community platforms. Hackaday, Hackster, and similar sites publish vetted projects with build logs, which are far more useful than a render and a parts list.
- Sensor and module vendor examples. Almost every sensor vendor publishes an Arduino example, and they are the fastest way to get a new peripheral working.
- Skill-driven rather than idea-driven. If you want to learn OTA, build the smallest project that requires it. Learning is faster when the project is chosen to teach the skill you lack.
From Project to Product: What Changes
At some point a project becomes something you want to keep running, give away, or sell, and the requirements shift in ways that surprise first-timers.
Provisioning. A product must let a stranger connect it to their network without you. A hard-coded Wi-Fi password is fine for a prototype and disqualifying for a product.
Updates. A deployed device needs over-the-air firmware updates, both to fix bugs and to add features. This must be designed in, not bolted on — the partition scheme you choose early determines whether it is even possible, as the IDE guide explains.
Reliability. Reconnection logic, watchdog behaviour, and graceful degradation matter far more in the field than on the bench.
Enclosure and thermal behaviour. A board that runs cool on your desk may behave differently inside a sealed case.
Documentation. If you expect anyone else — including future you — to maintain the device, it needs to be written down.
This is exactly the set of concerns a product-oriented SDK addresses. TuyaOpen provides provisioning, cloud connectivity, and OTA as standard, which is why a project built on it crosses the line from demo to product with far less extra work. The quick-start guide is the practical first step.
Ship your project, not your paperwork
Cloud, provisioning, and OTA come standard with TuyaOpen. Open the quick-start →
A Project Ladder to Follow
If the list above feels like too many options, this is the shortest useful path through it.
- Blink an LED — verify the toolchain.
- Serve a web page — verify the network.
- Add a sensor and report it — verify the data path.
- Add a screen — verify the interface.
- Add an automation — verify the behaviour.
- Add OTA — verify the update path.
- Add AI or Matter — verify the ambition.
Each step reuses everything before it, and each one ends with a working device rather than a half-built one. By step seven you have built, several times over, every layer that a commercial connected product needs.
The Parts and Tools Worth Keeping on Hand
One reason projects stall is a missing component turning a twenty-minute job into a week-long wait. A small stock of common parts removes most of that friction.
Boards. Keep two or three of the same board so you always have one to compare against when something misbehaves — a second known-good board is the fastest diagnostic tool you can own.
Sensors. A temperature-and-humidity sensor, a motion or presence sensor, a light sensor, and a simple button cover most beginner and intermediate projects, and they are cheap enough to buy in multiples.
Outputs. An LED assortment, a buzzer, and a relay module cover most of what you will want a device to do.
Passives. Resistors, capacitors, and a small breadboard are the difference between a tidy prototype and a tangle of wires.
A known-good USB data cable. Charge-only cables cause more first-day failures than any other single item; keep one you have verified separate from the rest.
A multimeter. The ability to check a voltage or a continuity is worth more than any debugging library when a project refuses to work.
A small display. Even a basic OLED or a board with a screen like the ESP32-2432S028R changes how a project feels, because it makes the device legible without a phone.
You do not need all of this on day one. But once you notice yourself waiting on a two-dollar part, building a small stock is the highest-leverage purchase in the hobby.
Learning Order Beats Project Choice
A final piece of advice that matters more than any single project: choose your builds so each one teaches exactly one new thing, and never start two new things at once.
The failure mode is common. Someone decides their first real project will be an AI camera dashboard with cloud sync and a custom PCB. It has six subsystems, all unfamiliar, and when it does not work there is no way to know which one is at fault. The successful path is the opposite: verify one layer, then add another, so at every step you know that everything underneath is sound.
Concretely, that means starting with the toolchain, then the radio, then one sensor, then a second subsystem, then the interface, and only then the ambitious layer. Each of the twelve projects above is designed to fit that pattern, and the TuyaOpen learn hub is organised to support it. When a project finally needs the cloud, provisioning, and updates that make it a product rather than a demo, that is the point to lean on a full SDK like TuyaOpen instead of writing the plumbing yourself — and because you built incrementally, you will know exactly which piece it is replacing.
FAQ: ESP32 Projects
What is a good first ESP32 project? Blinking an LED, then serving a web page. They are simple, they verify the whole toolchain and network stack, and they give you a working baseline for everything that follows.
What is the best ESP32 board for projects? It depends on the project: a classic dev board for learning, an ESP32-S3 for AI and multimedia, an ESP32-C6 for Matter, and a cheap C3 board for small battery devices.
Can the ESP32 run AI projects? Yes, for small on-device models such as wake-word detection and simple vision, especially on an S3-class chip. Heavy reasoning is best kept in the cloud.
How do I turn a project into a real product? Add provisioning, cloud connectivity, OTA updates, an enclosure, and documentation. A product-oriented SDK like TuyaOpen supplies most of the software side.
Where can I find working example code? Espressif's examples and the TuyaOpen GitHub repository are the most reliable sources, followed by the major community platforms.
How long should an ESP32 project take? A beginner project should take an evening; an intermediate one a few weekends. If a first project is projected to take months, it is too big — split it into stages that each end with something working.
Do I need to know how to code before starting? Basic familiarity with any programming language is enough, since the Arduino environment is forgiving and the examples are plentiful. The larger skill is patience with hardware: reading a datasheet and testing one thing at a time matters more than coding fluency.
How much does an ESP32 project cost? Most beginner and intermediate projects cost little — a board, a sensor or two, and some passives. Budget more for boards with screens, cameras, or AI acceleration, and remember that a spare board is often the most useful thing you can buy.
Final Thoughts
ESP32 projects are best chosen as a ladder rather than a lottery. Start with something small that verifies a layer, add one subsystem at a time, and pick projects that solve a real problem so they survive past the first working demo. Blink, then network, then sense, then display, then automate, then update, then add intelligence — and you will have learned the whole stack without ever starting something you could not finish.
When one of those projects becomes something you want to keep running or give away, do not rebuild the plumbing by hand. TuyaOpen gives you the cloud, provisioning, and OTA that a real device needs, so the last mile of a project is a configuration step rather than a second engineering effort. Explore TuyaOpen learn →